I have a cloth after each project. As a rule, these are pieces of
material that are different in length and width. It is almost impossible to sew
something out of them, but it's too bad to throw them out. What then to do, you ask? Everything is very
simple. As a medal has two sides, so any problem has at least two solutions,
and I always choose the most practical. I regard a limited number as a task,
which requires an unusual solution.
In my case, there were two small pieces of fabric with a floral print
and a strip of bright blue that remained from the dress. These two pieces were
so small that it was possible to sew from them only a crop top. So I did. And
then I got the idea to add a ruffle to the bottom edge. The search for a
pattern took a long time, after which I opted for a dress #130 Burda issue 12/2013. It consists of two
parts: the main dress and the crop top on top of it. It was the pattern of this
top that attracted me. Below I described step by step tutorial with all the
steps that will help you sew this top. The width of the ruffle you can be
different. I came from the width that I had left, but you can make it to your
taste.
В моем случае, было два
небольших отреза ткани с цветочным принтом и полоса ярко-синего цвета, которые
остались от платья. Эти два кусочка были настолько малы, что сшить из них можно
было только кроп-топ. Так я и сделала. А затем мне пришла идея добавить оборку
по нижнему краю. Поиск выкройки занял много времни, после чего я
остановила свой выбор на платье #130 из журнала Burda 12/2013. Оно состоит из двух частей: основного платья и
топа поверх него. Именно выкройка этого топа мне и приглянулась. Ниже я описала
пошагово все действия, которые помогут вам сшить такой же топ. Ширина оборки у
вас может быть разной. Я исходила из той ширины, что у меня оставалась, но вы
можете сделать ее на свой вкус.
You will need:
- Pattern (upper top of dress Burda 12/2013 #130)
- Fabric 0,6 m,
- Threads,
- Scissors,
- Needles and pins.
Вам понадобится:
- Выкройка верхнего топа от платья (Burda 12/2013 #130)
- Ткань 0,6 м,
- Нитки,
- Ножницы,
- Иголки.
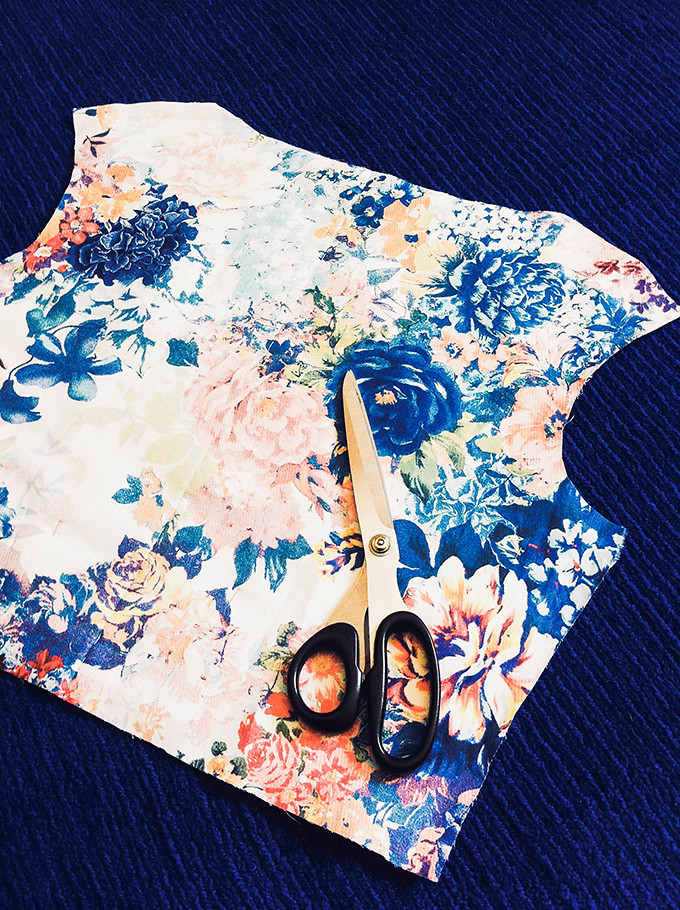
1) Pin the pattern pieces to fabric.
1) Приколите выкройку к ткани.
2) Add seam allowance and cut pieces.
3) Pin
pleats on front piece.
3) На передней детали заложите складки.
4) Stitch
line beside neckline that to fix the pleats.
4) Проложите строчку рядом с линией горловины
для фиксации складок.
5) Sew the tucks on the back piece.
5) На спинке сшейте вытачки.
6) Fold
the front and back pieces together and sew side and shoulder seams.
6) Сложите переднюю и заднюю детали вместе и
прошейте боковые и плечевые швы.
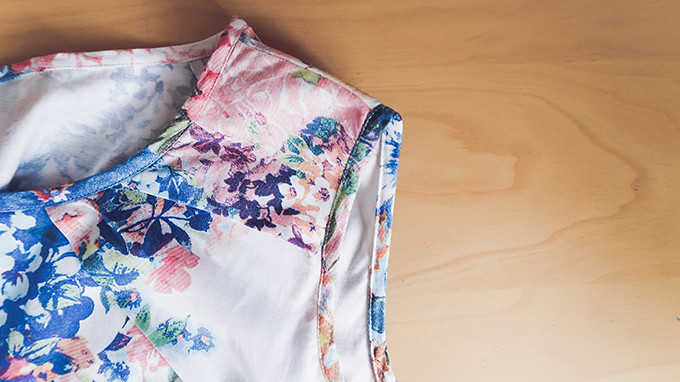
7) Facing
an armhole and neckline with bias binding.
8) Cut
the strip of the desired width and length for the ruffle. I cut a strip of length 140 and a width of 9
cm along with the allowances.
8) Для оборки выкроите деталь желаемой
ширины и длины. Я выкроила полосу длиной 140 и шириной 9 см вместе с припусками на швы.
Нижний край подогните и проутюжьте.
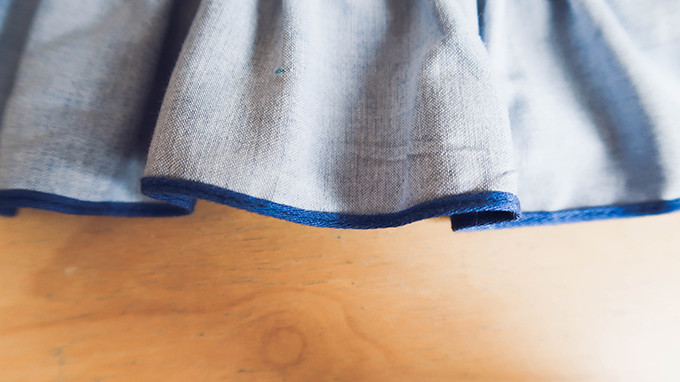
9) Sew
right along the folded edge at a distance of 1 mm from the edge.
9) Проложите прямую строчку на расстоянии 1
мм от края.
10) Trim
off the extra fabric from the hem.
10) Срежьте припуск близко к строчке.
11) Fold
the hem again and press an iron.
11) Подогните край еще раз и заутюжьте.
12) Then
again stitch on top of the first stitch line,
13) Sew
the side seam of the ruffle.
13) Сшейте боковой шов оборки.
14) Sew
two rows of baste stitching along the top of strip of fabric. Stitch length 3-4
mm
14) Проложите две параллельные строчки вдоль верхнего среза ткани. Длина стежка 3-4 мм.
15) Pull
the ends of the baste stitching to gather the fabric.
15) Затем стяните свободные концы нитей,
равномерно распределяя складки.
16) The
width of the finished ruffle should correspond to the width of the top along
the bottom edge.
16) Ширина готовой оборки должна соответствовать
ширине топа по нижнему краю.
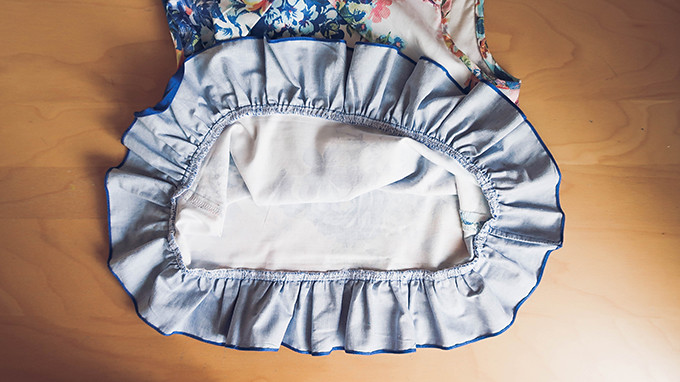
17) Pin
the ruffle to the bottom edge of the top.
17)
18) Then
sew the ruffle to the top with a sewing machine.
19) Summer
top with a ruffle is ready!
19) Летний топ с оборкой готов!
You can see in more detail all the stages of tailoring the top with a frill in this video.
Более подробно все этапы пошива топа с оборкой вы можете увидеть в этом видео.
Более подробно все этапы пошива топа с оборкой вы можете увидеть в этом видео.
This top is simple at sewing (even a beginner will make it), but the
effect that it creates is very stunning. Especially if you choose a cloth with
a print. This silhouette allows to wear it with skirts, jeans and trousers with
a high waist, and a ruffle along the bottom adds to look of tenderness and
romance. In the next message, I'll show you one of my outfit with a crop top.
Этот топ простой при
пошиве (с ним справится даже начинающий), но эффект который он создает просто
ошеломительный. Особенно если вы выберете ткань с принтом. Укороченный силуэт
позволяет носить его с юбками, джинсами и брюками с завышенной талией, а оборка
по нижнему краю добавляет образу нежности и романтичности. В следующем
сообщении я вам покажу один из своих образов с укороченным топом. Расскажите, часто ли у
вас остается ткань после завершения проекта? Что вы шьете из остатков
ткани?
xoxo, Stacy


