Like many
amateur tailors, I often sew a few similar things using one sewing pattern. So
many of you may seem that my work is not very diverse. On the one hand, sew the
same things is boring and uninteresting. But, on the other hand, every time my
skill is growing, and I get a rewarding experience. After all, for every sewing
project I buy fabrics with different composition, texture and print.
Как и многие портные-любители, я
часто шью из одной выкройки несколько похожих вещей. Поэтому многим из вас
может показаться, что мои работы не отличаются особым разнообразием. С одной
стороны, шить одинаковые вещи скучно и неинтересно. Но, с другой стороны,
каждый раз мое мастерство растет, и я приобретаю полезный опыт. Ведь для
каждого швейного проекта я покупаю ткани с разным составом, текстурой и
принтом.
This happened with sewing pattern
of classic wide leg pants. It was so successful that I sewed 3 pairs of pants –
two for my mom and one for myself. The first trousers were made of thick wool
color delicious dark chocolate. I sewed them for my mom, and I was very worried
that the result did not live up to her and my expectations... But it was not as
difficult as I thought. Should I tell you that now this is the favorite model
of pants in the wardrobe of my mom. So today I want to share this successful
sewing pattern with you. Below I have tried to describe as accurately as
possible the process of tailoring trousers.
Так
случилось с выкройкой классических широких брюк. Она оказалась настолько
удачной, что я сшила по ней 3 пары брюк – две для моей мамы и одну для себя.
Первые брюки были из плотной шерсти вкусного цвета темного шоколада. Я шила их
для мамы, и очень переживала, что получившийся результат не оправдает ее и мои
ожидания... Но все оказалось не так сложно, как я думала. Стоит ли вам
говорить, что теперь это любимая модель брюк в гардеробе моей мамы. Поэтому
сегодня я хочу поделиться этой удачной выкройкой с вами. Ниже я постаралась как
можно подробнее описать весь процесс пошива брюк.
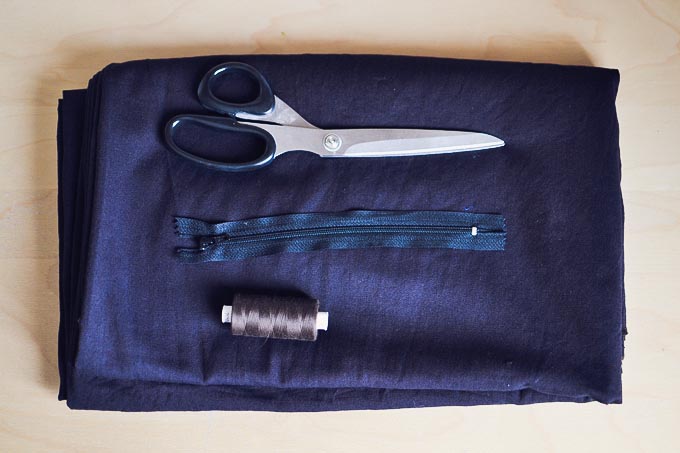
You need:
- pattern (Burda 8/2013 #118C)
- fabric 1,7 m,
- interfacing,
- threads, zipper, 1 button,
- scissors, pins, tailor's chalk.
Вам потребуется:
- выкройка (Burda 8/2013 №118C)
- ткань 1,7 м,
- флизелин,
- нитки, молния, пуговица,
- ножницы, булавки, портновский мел.
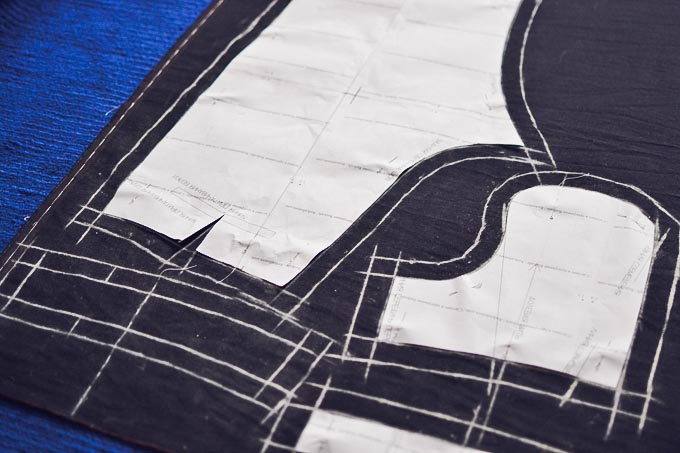
1) Put and pin the pattern to the fabric.
1) Положите и проколите выкройку к ткани.
2) Trace around the pattern and add seam allowance (2 cm).
3) Then you need to cut out the
pattern.
3) Затем необходимо вырезать выкройку.
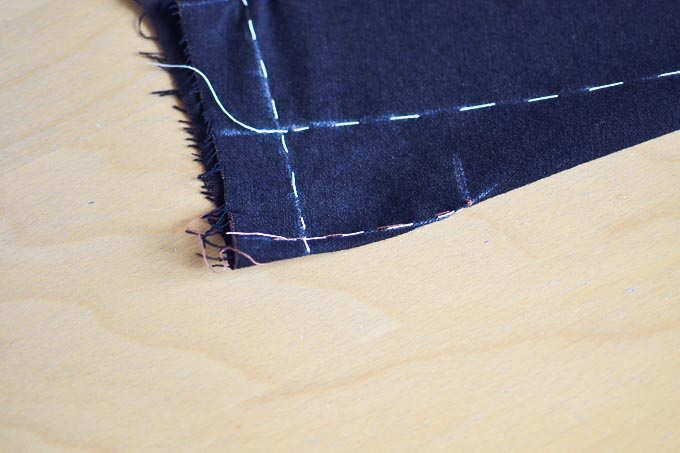
4) Sew the tucks in the back pieces.
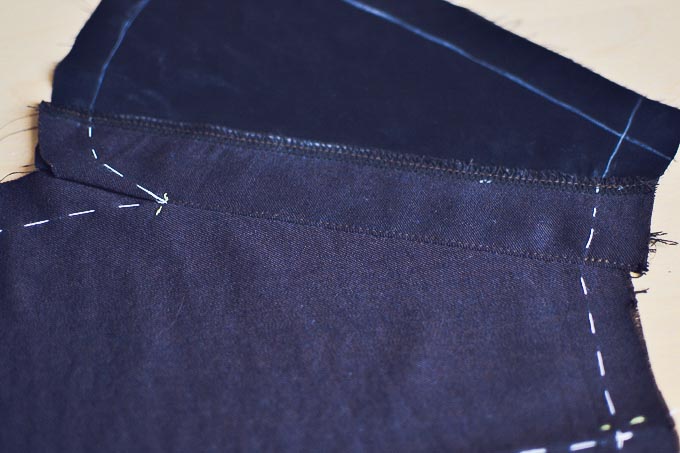
5) Pin the neat facing to the
pocket lining and sew together a straight stitch.
7) Press towards pocket facing and
understitch.
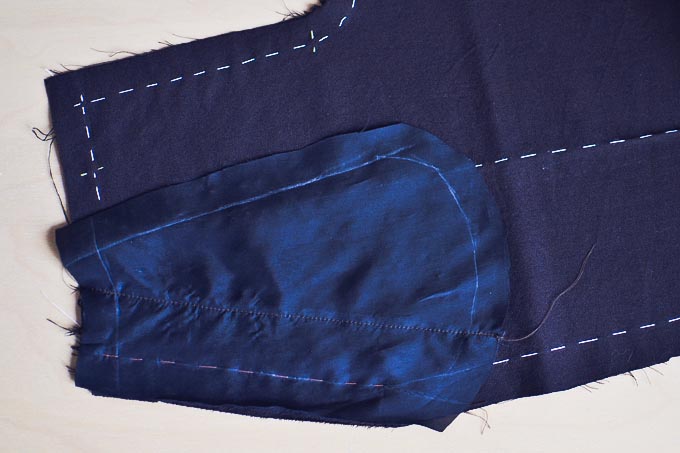
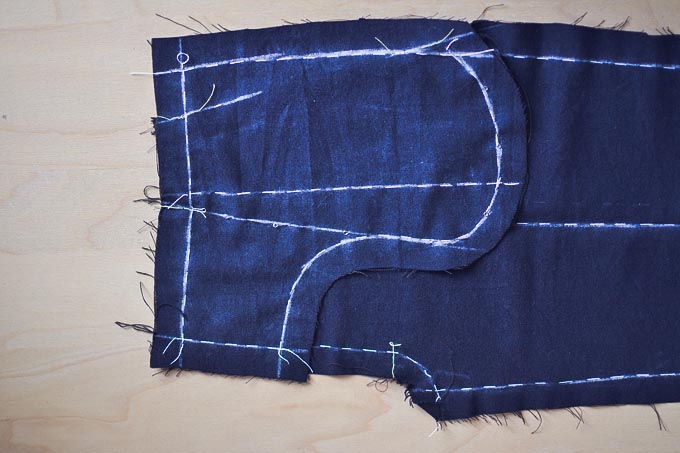
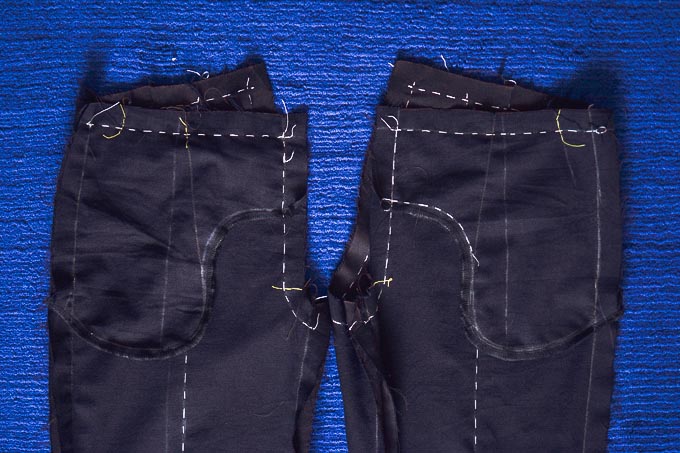
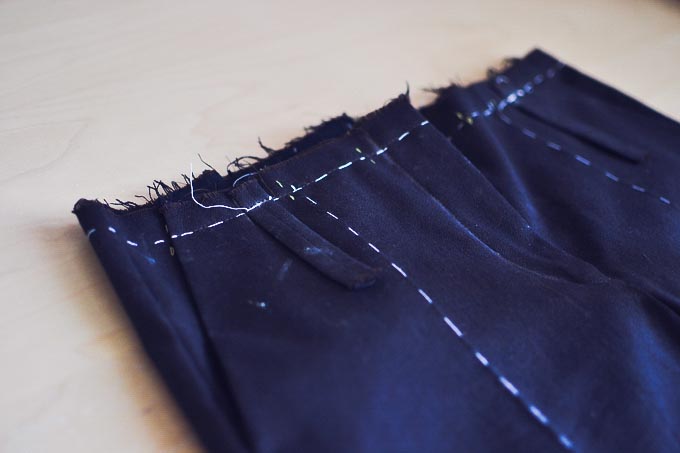
8) Attach the pocket to front part
of pants.
8) Прикрепите карман к передней части брюк.
9) Stitch around the pocket curves.
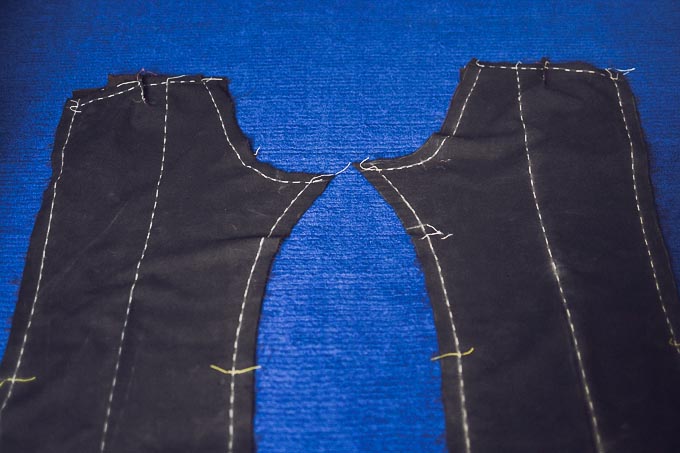
10) Sew the side seams.
11) Then sew the inside seams of the legs.
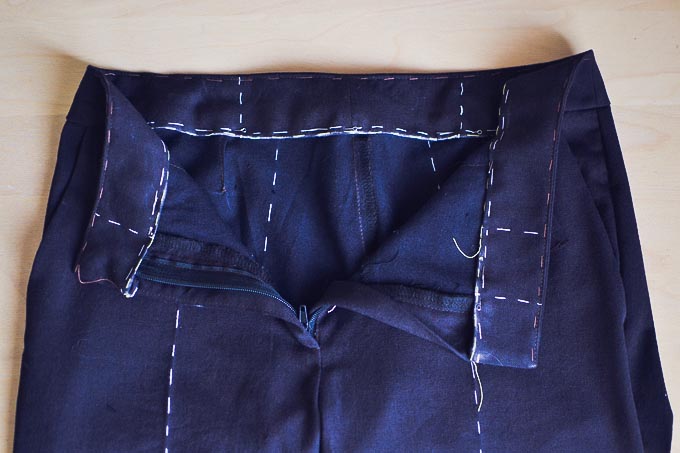
12) Install a conventional zipper.
12) Установите обычную молнию.
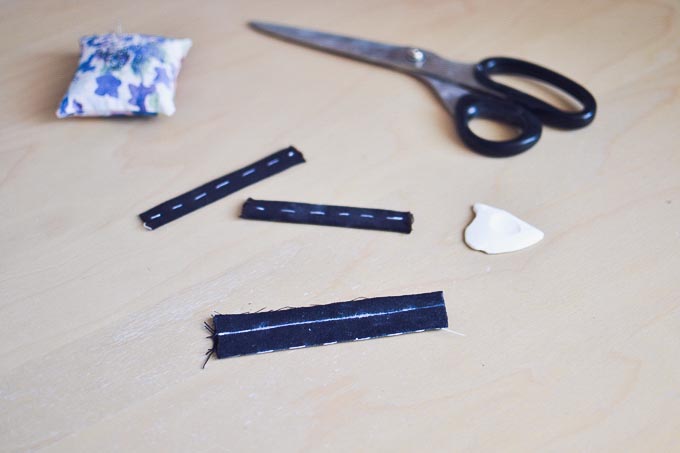
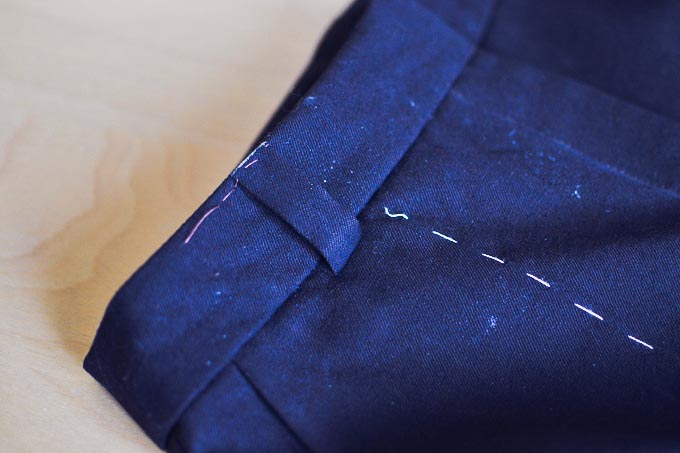
13) Cut out belt loops, fold and sew.
13) Cut out belt loops, fold and sew.
14) Pin the belt loop to the pants
waistband.
15) Cut interfacing same size as
waistband to be interfaced and press.
15) Вырежьте флизелин такого же размера как пояс и приклейте.
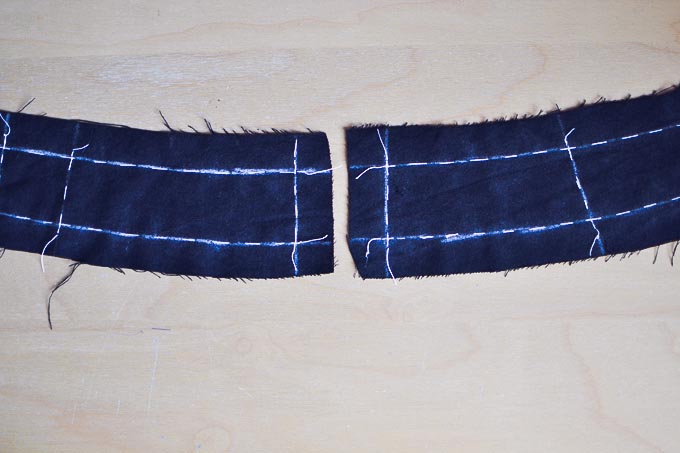
16) Fold two pieces of waistband
and sew seam side. Repeat these steps with the other parts.
17) Attach waistband to the waist
of the pants and sew.
17) Приложите пояс к линии талии
брюк и пришейте.
18) Fold down the top edge of the
waist 1/2 and stitch in the ditch on the
facing side.
18) Сложите пояс пополам и отстрочите в край с лицевой стороны.
19) Topstitched belt loops to the
top edge of the waistband.
19) Пришейте верхний край шлевок к поясу.
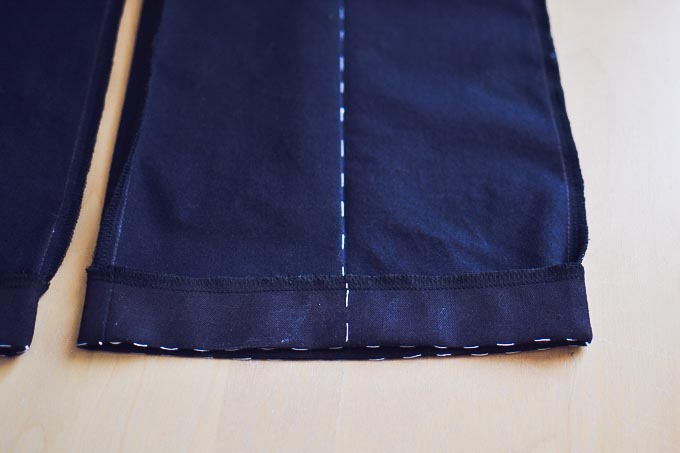
20) Then sew a blind hem trousers
by hand.
20) Затем подшейте низ брюк вручную.
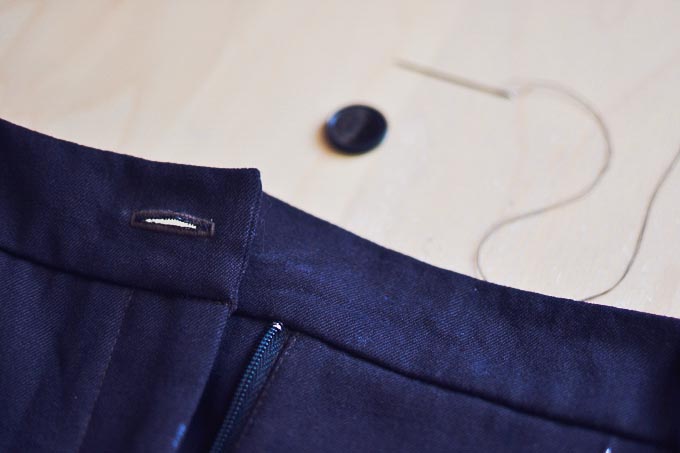
21) Make a buttonhole and sew a
button to finish.
21) В конце сделайте петлю и пришейте пуговицу.
In the next post I will share with you pictures of the finished trousers. In the meantime, you can watch a video with step by step directions and ready result.
В следующем сообщении я поделюсь с вами фотографиями готовых брюк. А
пока вы можете посмотреть видео с пошаговой инструкцией, а также получившимся
результатом.
Sewing of pants and jackets, for me
has always seemed like something complicated and inaccessible. But when I first
sewed the pants in my life, I realized that the need to overcome the fear, step
over your own doubts in order to move forward and grow in their favorite work
or hobby. Share with me, what fears recently you managed to overcome?
Шитье брюк и жакетов, для меня
всегда казалось чем-то сложным и недосягаемым. Но когда я сшила первые брюки в
своей жизни, я поняла, что необходимо преодолевать страх, переступать через
собственные сомнения для того, чтобы двигаться дальше и расти в своем любимом
деле или хобби. Напишите мне, какие страхи за последнее время вам удалось
побороть?
My other sewing projects:
Printed silk top
Romantic dress
Мои другие швейные проекты:
Этнический шелковый топ
Романтичное платье
xoxo, Stacy


