

Last year, I bought a piece of fabric with a pattern of polka
dots. No doubt this pastel pink material with a simple print should turn
out something tender and romantic. Looking at it, I immediately remembered a
character Vivian (Julia Roberts) from the movie "Pretty Woman" and her
outfit in which she attended a polo match. It was restrained, elegance and
flying dress. So now I wanted to recreate it.
Еще в пролом году, я
купила кусок ткани с узором в горошек. Из этого пастельно-розового материала с
простым принтом без сомнения должно было получиться что-то нежное и
романтичное. Глядя на него, я сразу же вспомнила персонажа Вивиан (Джулия
Робертс) из фильма "Красотка" и ее наряд, в котором она
присутствовала на матче по поло. Это было сдержанное, элегантное и летящее
платье. Так что теперь я хотела воссоздать его.
After long wanderings on the Internet and studying patterns in the last
few years, I finally found it "that" dress. In this post, you found
step by step instruction. Let's start!
После длительных
скитаний по интернету и изучения выкроек за последние несколько лет я
наконец-то нашла именно «то» платье. В этом сообщении вы найдете пошаговую инструкцию. Приступим!
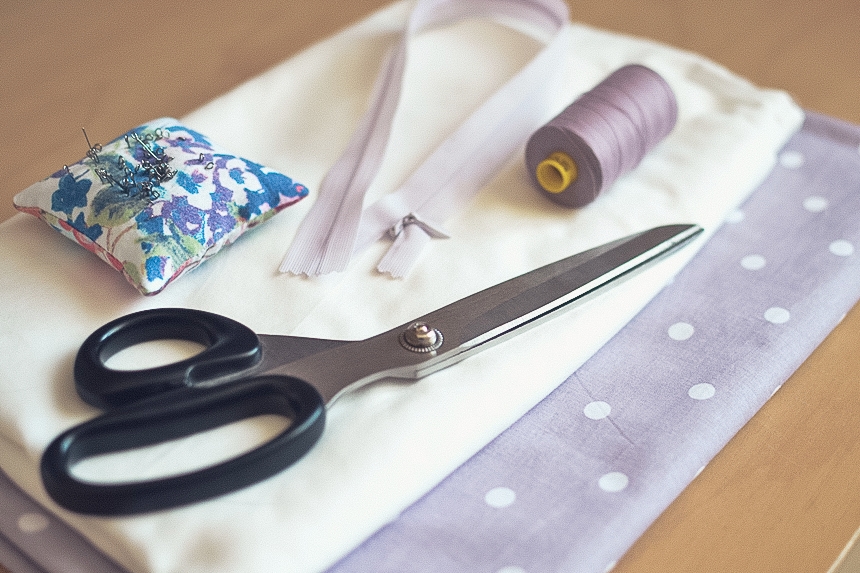
You will need:
- Pattern (Burda 2/2011 104 )
- Main fabric 2 m
- For lining 2 m
- Thread, needles, pins, scissors
- Выкройка (Burda 2/2011 104)
- Основная ткань 2 м
- Подкладочная ткань 2 м
- Нитки, иголки, булавки, ножницы
Note: The neckline is reduced by 4 cm,
because the cut-out was very deep.
Примечание: Горловина уменьшена на 4 см, так как вырез был очень глубоким.
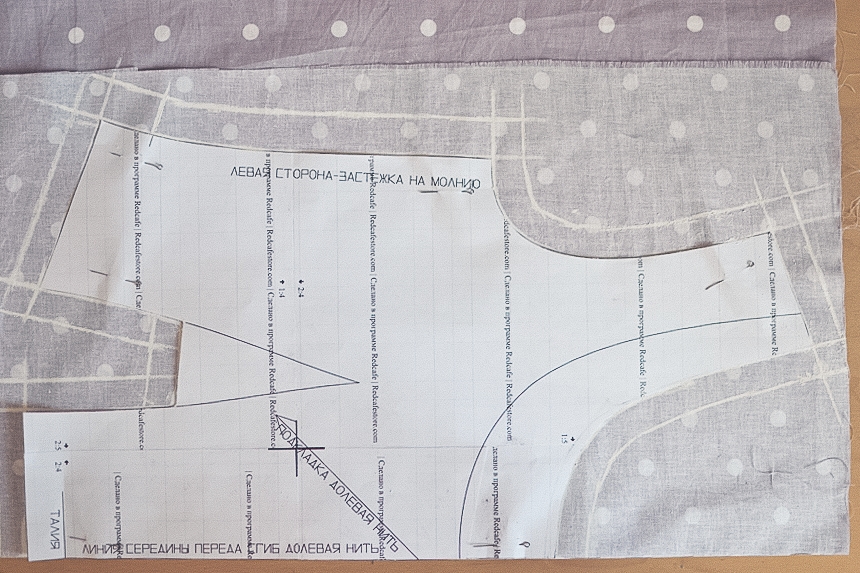
Step 1. Pin the pattern to the fabric and draw around it, making allowance for seams.
Шаг 1. Приколите выкройку к ткани и
обведите ее, сделав припуск на швы.
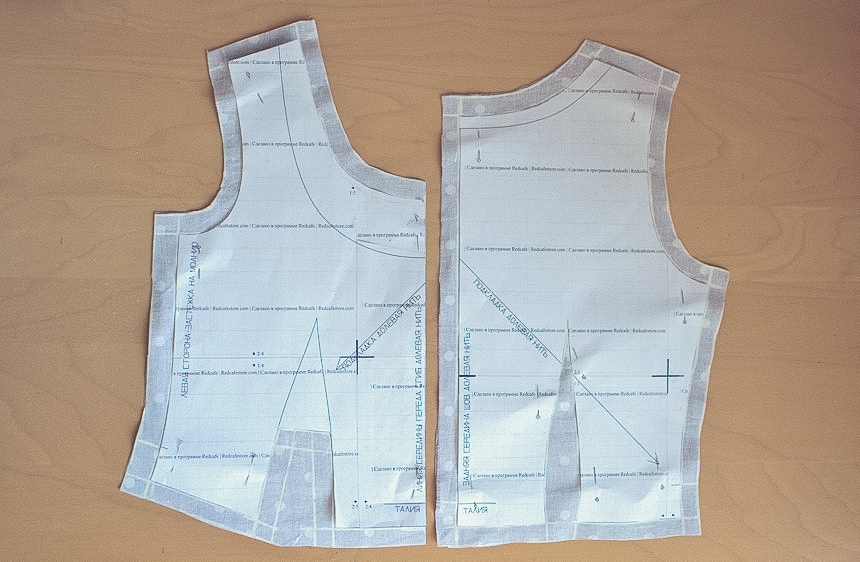
Step 2. Cut out the front and back pieces of the main fabric and lining.
Шаг 2. Вырежьте переднюю и заднюю части из
основной ткани и подкладки.
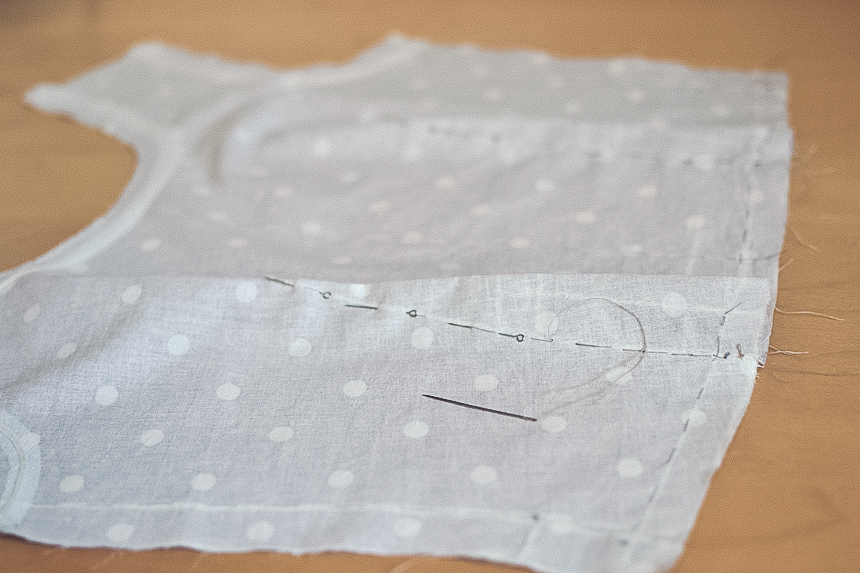
Step 3. Sew the
darts on the front and back sides.
Шаг 3. Сшейте вытачки на передней и задней
сторонах.
Step 4. Sew the
middle seam on the back side. Repeat the same steps on the lining.
Шаг 4. Сшейте средний шов на задней стороне.
Аналогичные действия повторите на подкладке.
Step 5. Lay a interfacing along the neckline and armholes and press the iron down for 15 seconds.
Step 5. Lay a interfacing along the neckline and armholes and press the iron down for 15 seconds.
Шаг 5. Положите флизелин вдоль горловины и
пройм и приклейте утюгом в течение 15 секунд.
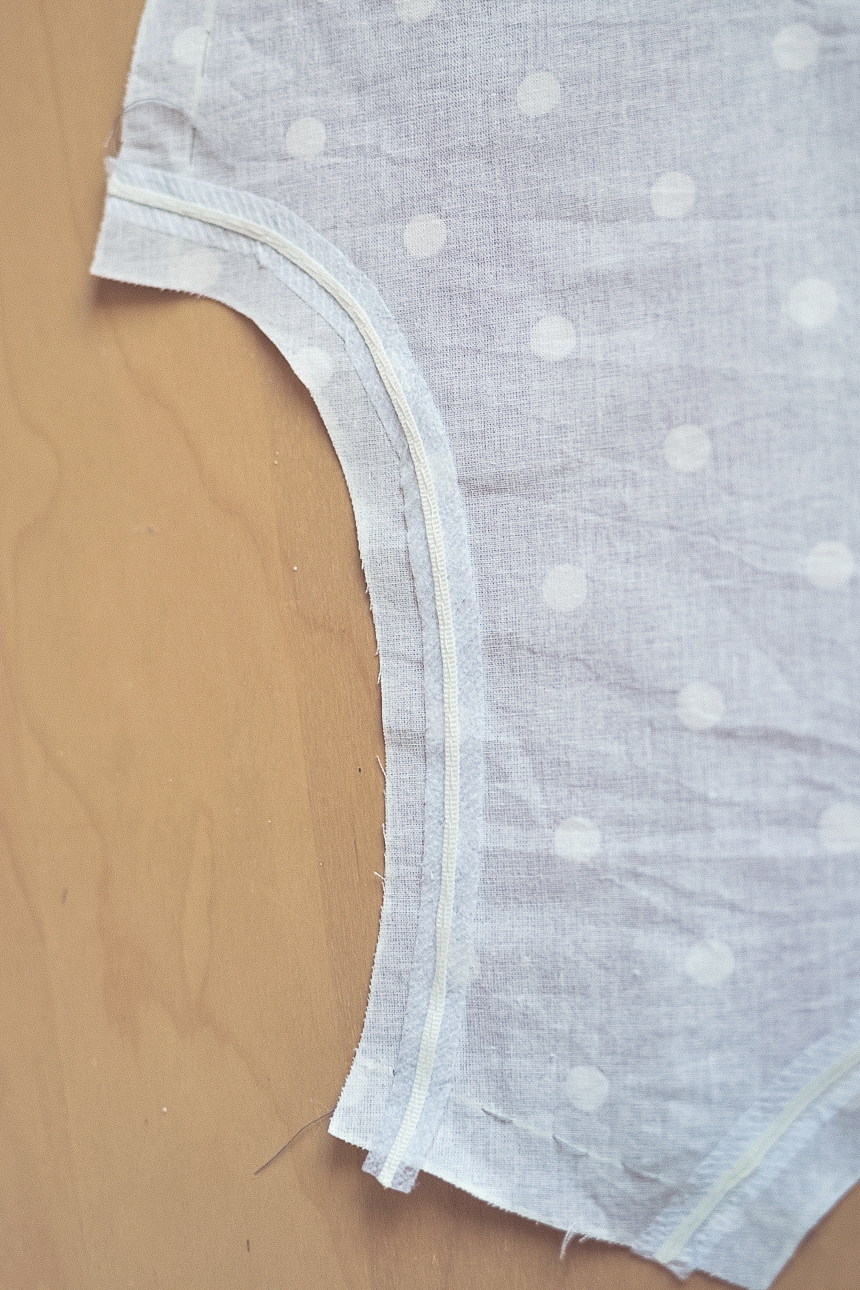
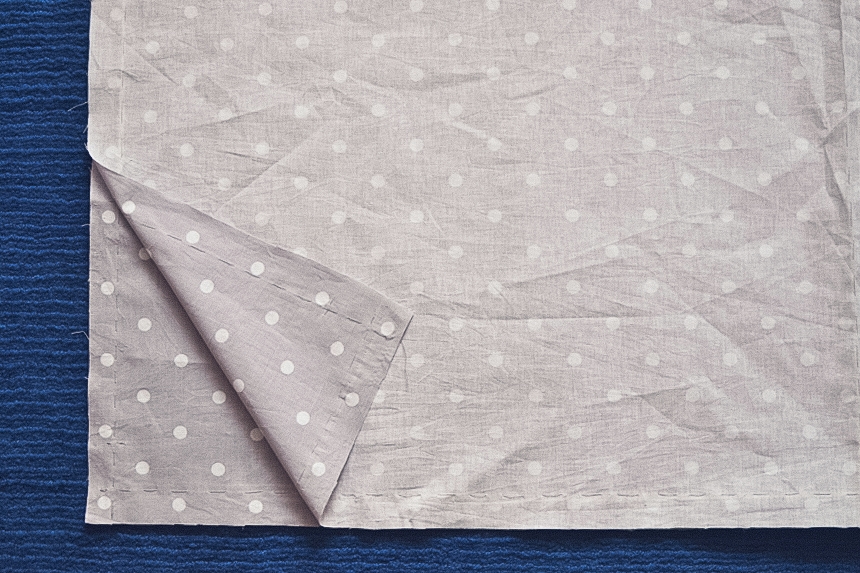
Step 6. Sew the
neckline and armholes, leaving an opening of about 2 cm to shoulder.
Шаг 6. Сшейте горловину и проймы, не доходя 2
см до плеча.
Step 7. Clip the seam allowance of up to
0.5 cm on the neckline and armholes.
Шаг 7. Срежьте припуски до 0,5 см на горловине
и проймах.
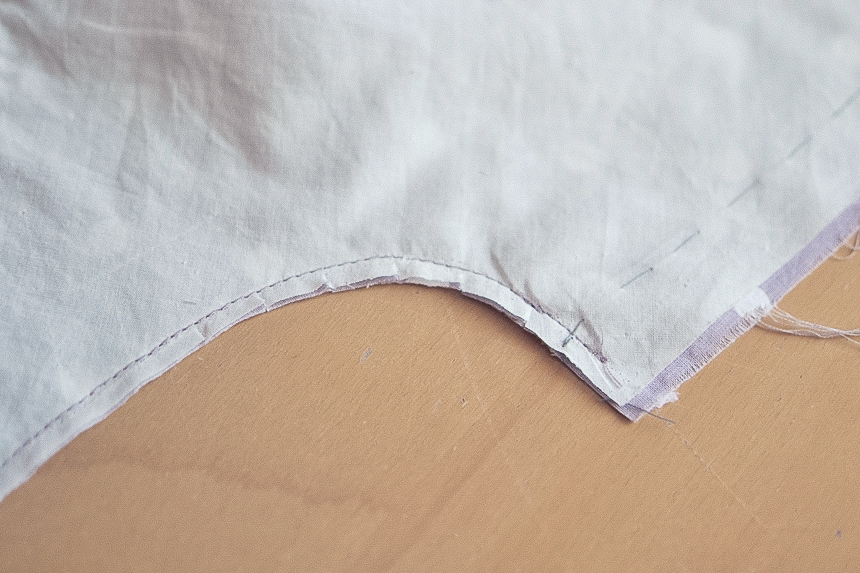
Step 8. Clip to
release the tension on the neckline and armholes.
Шаг 8. Сделайте надсечки на горловине и проймах.
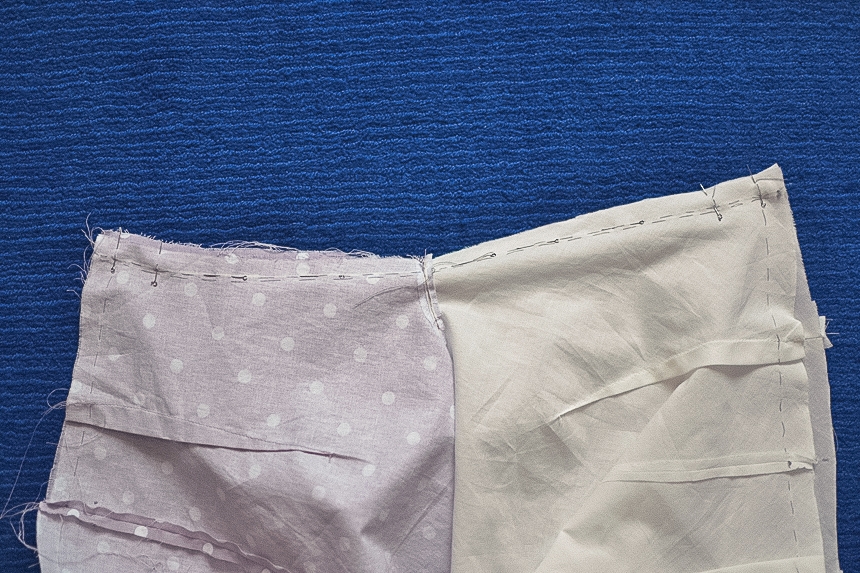
Step 9. Sew
shoulder seam on the main fabric and lining.
Шаг 9. Сшейте плечевой шов на
основной ткани и подкладке.
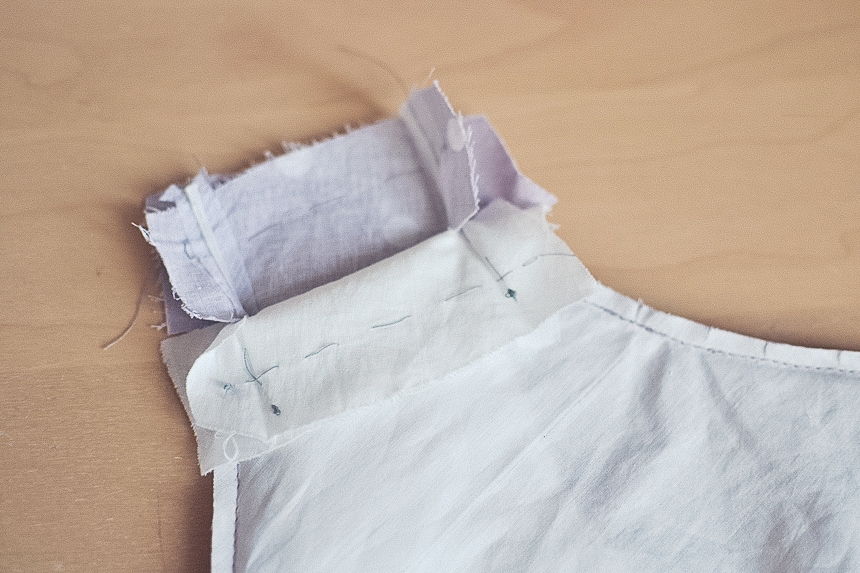
Step 10. Sew the
remaining edge together.
Шаг 10. Сшейте оставшиеся
открытые срезы вместе.
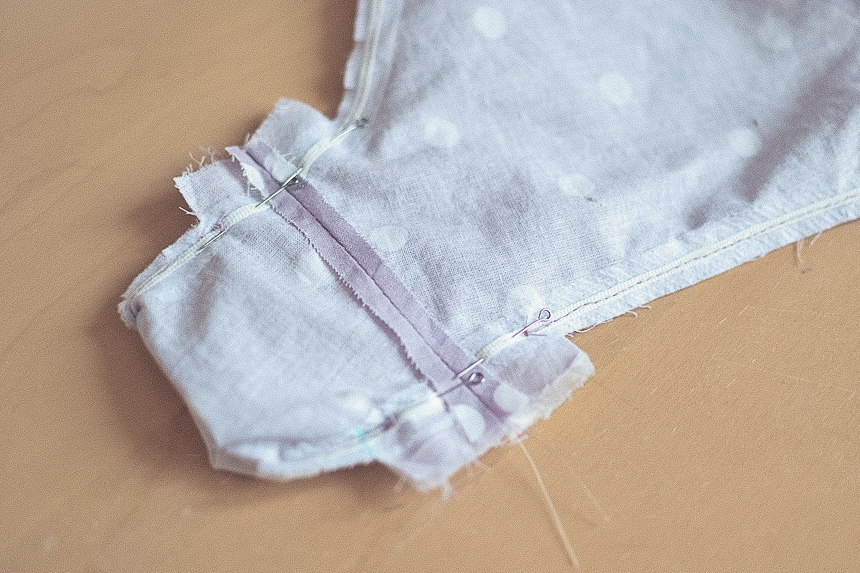
Step 11. Turn
inside out and sew up to the mark on the right inner side.
Шаг 11. Выверните наизнанку и сшейте правый
боковой шов.
Step 12. Cut out
the front and back of the skirt of the main fabric and lining.
Шаг 12. Вырежьте переднюю и заднюю стороны юбки
из основной ткани и подкладки.
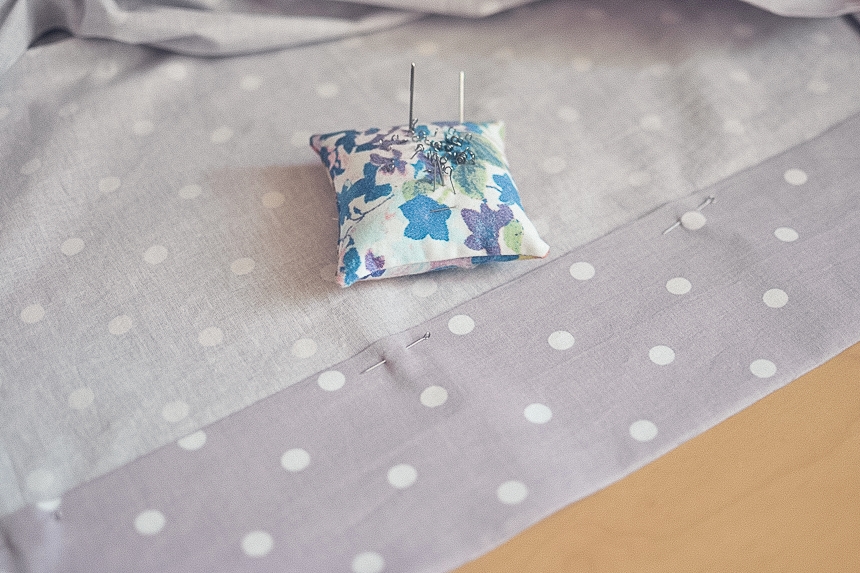
Step 13. Sew side seams together to mark sewing point.
Step 13. Sew side seams together to mark sewing point.
Шаг 13. Сшейте вместе боковые швы до
контрольной точки.
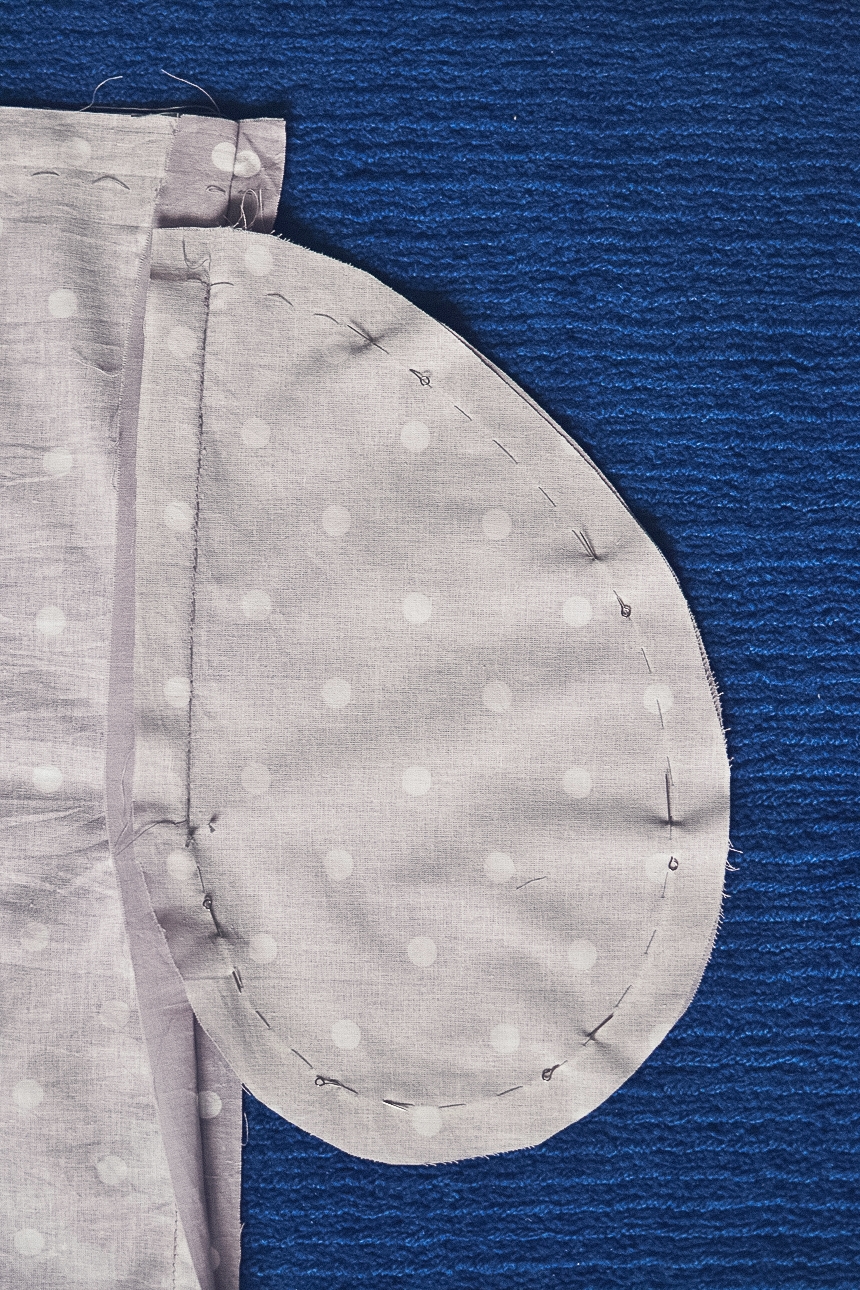
Step 14. Sew each part of the pocket to the front and back of the skirt.
Шаг 14. Пришейте каждую часть кармана к
передней и задней сторонам юбки.

Step 15. Sew
side seam to the end.
Шаг 15. Сшейте боковой шов до конца.

Step 16. Sew the
edge of the pockets together.
Шаг 16. Сшейте края кармана
вместе.
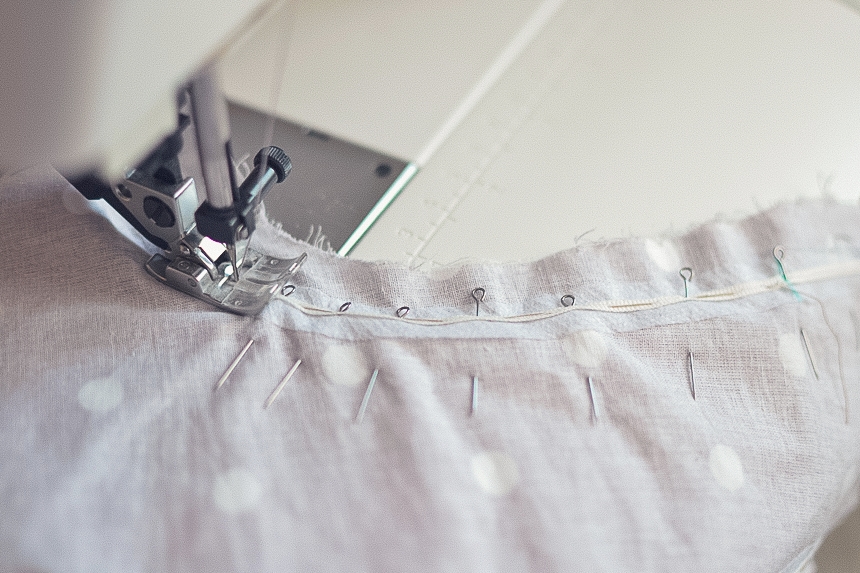
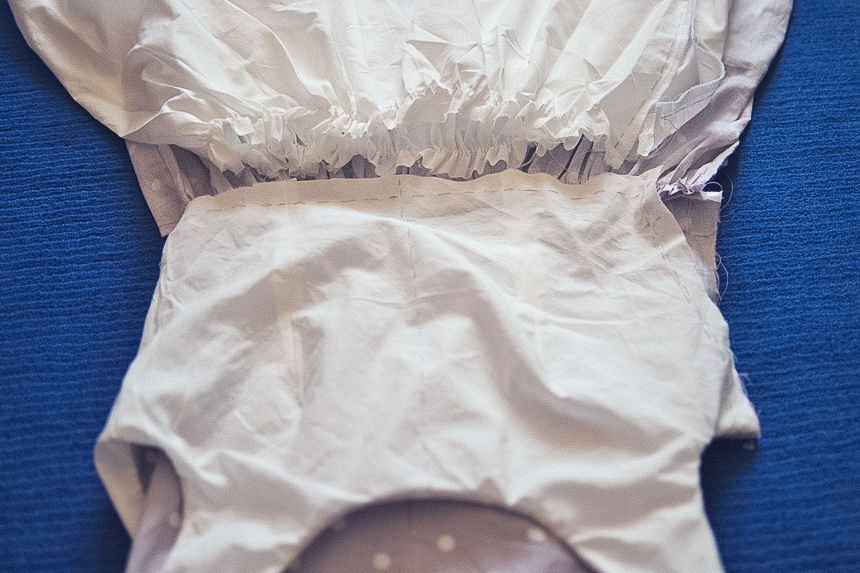
Step 17. Gather the top waist.
Шаг 17. Сделайте сборку по линии талии.

Step 18. Repeat these actions for the lining.
Шаг 18. Повторите эти действия с
подкладкой.
Step 19. Attach
the waist together.
Шаг 19. Соедините вместе лиф и юбку.
Step 20 Sew the lining skirt to top.
Шаг 20. Пришейте подкладочную юбку к лифу.
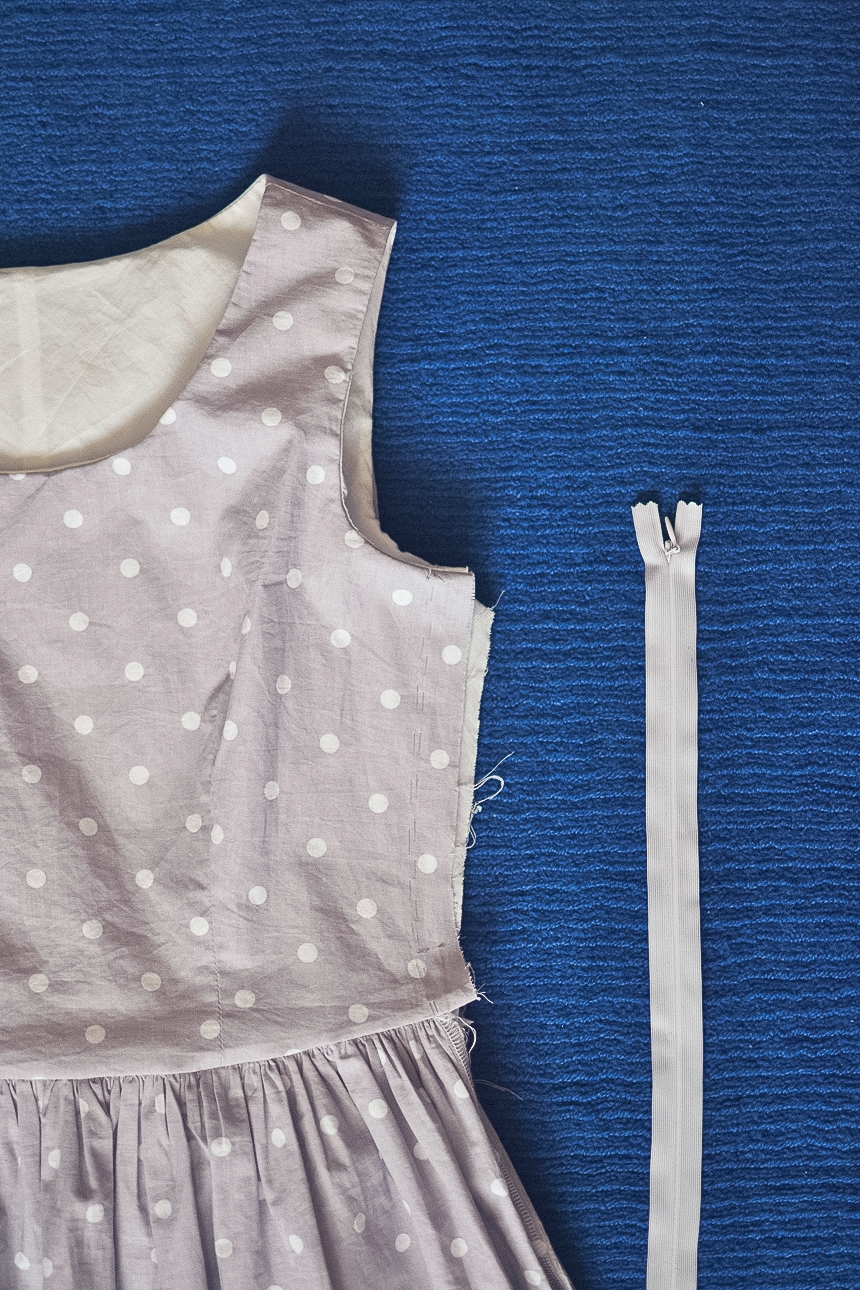
Step 22. Sew invisible zipper to the side seam.
Step 22. Sew invisible zipper to the side seam.
Шаг 22. Вшейте потайную молнию в боковой шов.
Step 23.
Fold the hem about 10 cm and sew.
Шаг 23. Подверните подол на 10 см и прошейте.
Step 24. Repeat these steps for lining.
Шаг 24. Повторите эти действия на подкладке.
I hope this guide will help you sew a dress that will be one of the most favourite.
Я надеюсь, что эта пошаговая инструкция поможет вам сшить платье, которое станет одним из самых любимых.
P.S. You might also want to check out other sewing project:
Printed silk top
P.S. Вы также можете проверить другой швейный проект:
Этнический шелковый топ