

A tea dress is an ideal option for a summer wardrobe!
And now I'll prove it to you. First, it's convenient. Elegant silhouette complete with
air fabrics, which are used for sewing tea dresses, give freedom and ease of
movement. In addition, these dresses do not always require you to wear heels,
from which the legs can swell in the summer. Simply add sports sneakers,
romantic ballerina shoes or business loafers to the outfits and you will look
great. Secondly, it is practical. This model of dress is suitable for work,
rest and even for a date. And thirdly, it is universal. There are different
variants of tea dresses, so it's not so difficult to find your "own"
dress suitable for your figure.
Чайное платье - это
идеальный вариант для летнего гардероба! И сейчас я вам это докажу. Во-первых,
это удобно. Элегантный силуэт в сочетании с воздушными тканями, которые используются для
пошива чайных платьев, дают свободу и легкость передвижения. К тому же, эти платья
не всегда требуют каблуки, от которых летом могут сильно отекать ноги. Просто
добавьте к наряду спортивные кроссовки, романтичные балетки или деловые лоуферы
и будете выглядеть великолепно. Во-вторых, это практично. Такая модель платья
подойдет для работы, отдыха и даже для свидания. И в-третьих, это универсально.
Существуют различные варианты чайных платьев, поэтому найти "свое"
платье, подходящей именно вашей фигуре, не так сложно.
One of these models I will sew in today's master class. It will be a tea dress "Chelsea" for the pattern of Vikisews. The model of the dress won me from the very beginning, as soon as I saw it. Half-fitted silhouette, long midi, loose flared sleeves, assembly instead of darts - feminine and romantic image for all occasions!
Одну из таких моделей
я буду шить в сегодняшнем мастер-классе. Это будет чайное платье
"Челси" по выкройке Vikisews. Модель платья меня покорила с самого
начала, как только я его увидела. Полуприталенный силуэт, длинна миди,
свободные расклешенные рукава, сборка вместо вытачек – женственный и
романтичный образ на все случаи жизни!

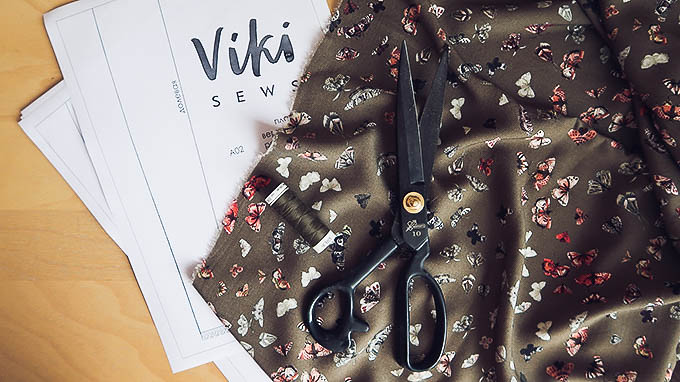
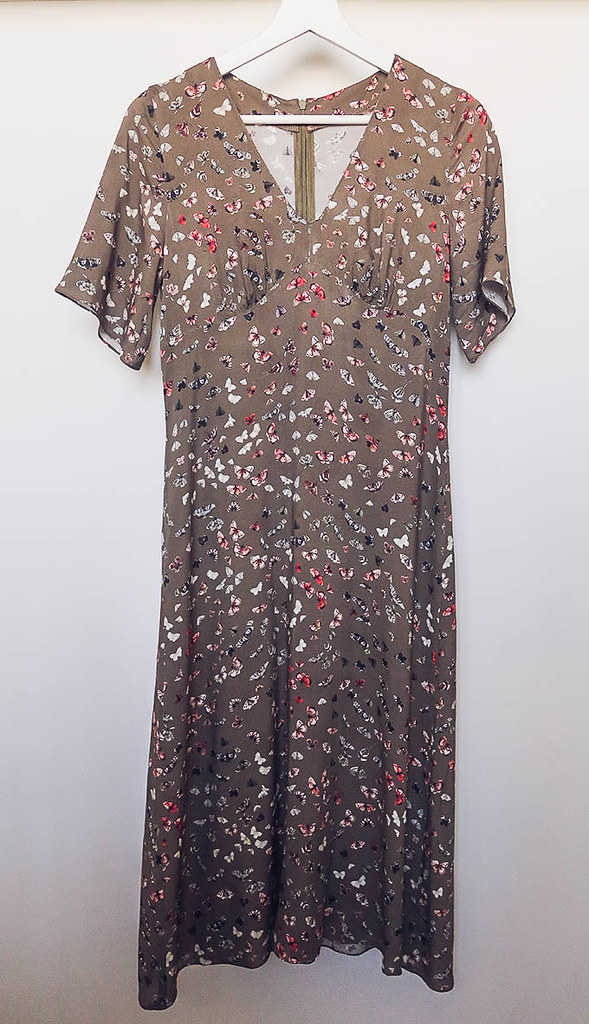
For the project, I chose a soft fabric made from
viscose. I deliberately did not take the traditional floral motif for tea
dresses, but decided to make my choice on weightless butterflies. These
beautiful, graceful and defenseless beings for me are associated with summer as
well as flowers. Below you can see the detailed step-by-step stages on the
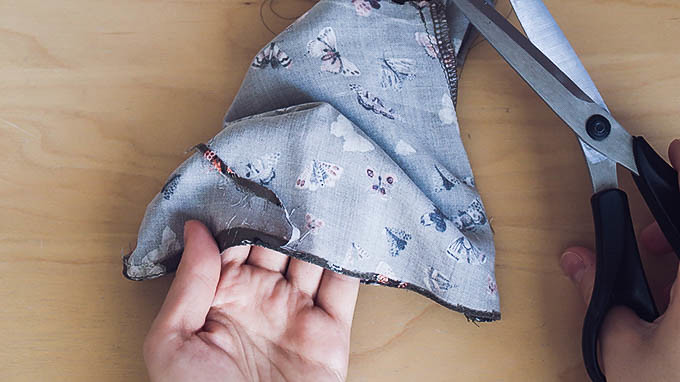
sewing of the dress "Chelsea".
Для проекта я выбрала мягкую ткань из вискозы. Я
намеренно не стала брать традиционный для чайных платьев цветочный мотив, а
решила остановить свой выбор на невесомых бабочках. Эти красивые, грациозные и
беззащитные существа для меня ассоциируются с летом также как и цветы. Ниже вы
можете увидеть подробные пошаговые этапы по пошиву платья "Челси".
You will need:
- Pattern tea dress "Chelsea"
- Fabric 1,6 m (I use viscose fabic),
- Stretch interfacing 0,3 m
- Invisible zipper,
- Threads.
Вам понадобится:
- Выкройка платья «Челси»,
- Ткань 1,6 м (я использовала вискозу),
- Дублерин 0,3 м
- Потайная молния,
- Нитки.
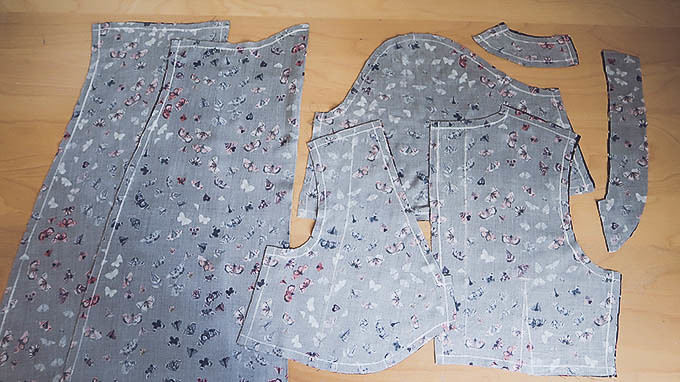
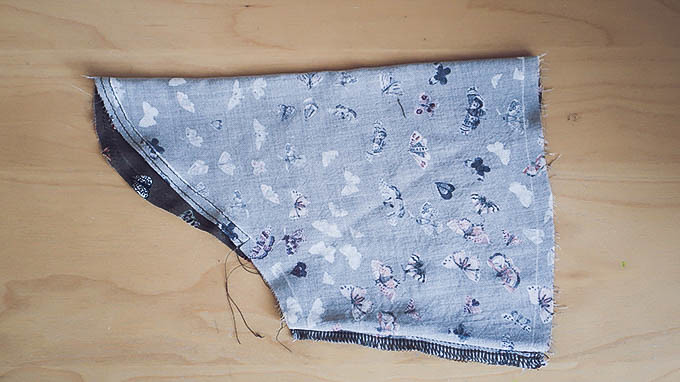
1)
Сut out pieces.
1) Вырежьте все детали платья.
2) Press interfacing to neckline facing.
2) Приклейте дублерин к деталям
обтачки переда и спинки.

And press to the seam allowance where you plan to insert a zipper (strip width 1 cm).
Также приклейте полосу из дублерина шириной 1 см к месту притачивая молнии.
3) Pin tucks on the back pieces.
3) Сколите и наметайте вытачки на деталях спинки.
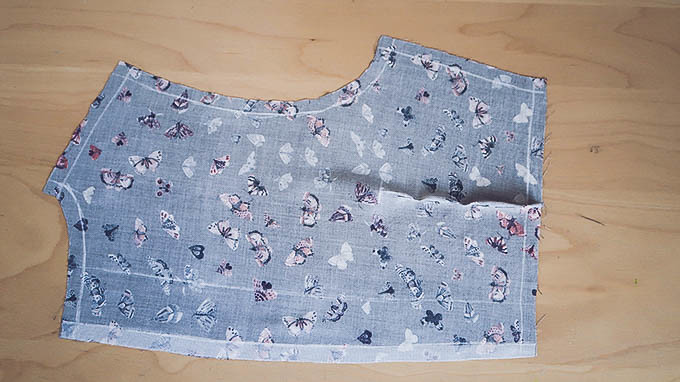
4) Then sew the tucks
4) Затем прошейте вытачки на
швейной машине.
5) Ready the darts in the direction of the center.
5) Готовые вытачки заутюжьте в
сторону линии середины спинки.
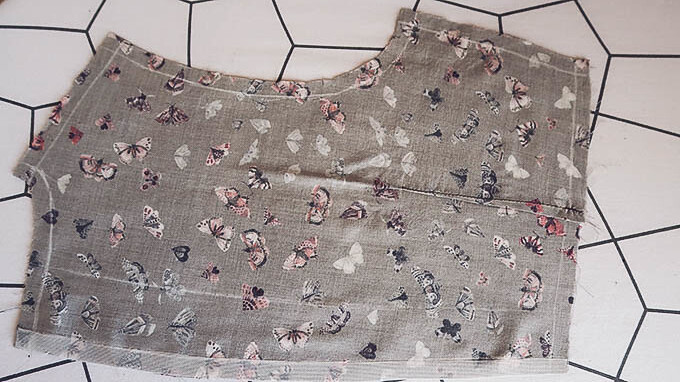
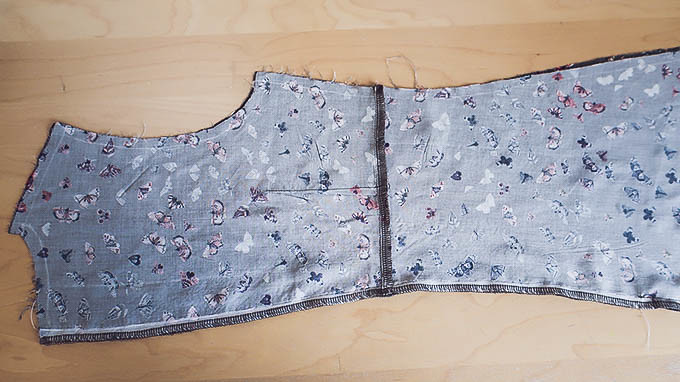
6) Attach the back piece of bodice to the back piece
of the skirt, aligning the mark lines. Press the seam down.
6) Соедините детали спинки с
задней деталью юбки, совмещая контрольные линии. Шов заутюжить вниз.
7) Then serge seam allowances along bottom edge of the
bodice and the center seam.
7) После обметайте на оверлоке
шов по линии подреза и средний шов спинки.
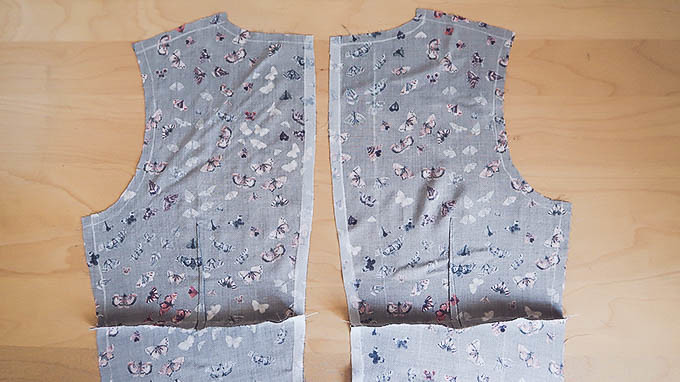
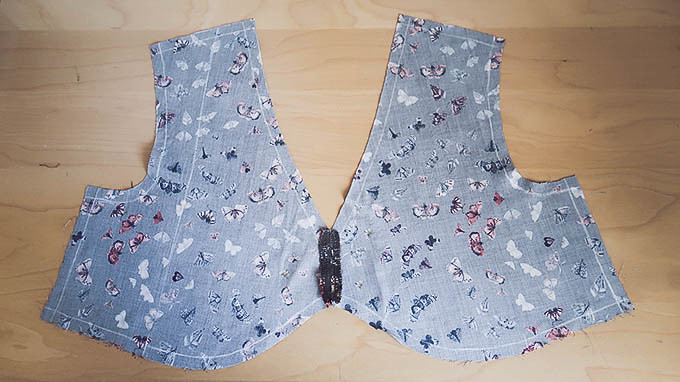
8) Place front and back pieces together and pin.
8) Сложите вместе детали спинки
и сколите.
9) Sew the pieces along the central seam, leaving a
section for the invisible zipper.
9) Сшейте детали по среднему
шву, оставив от верхнего среза участок под молнию.
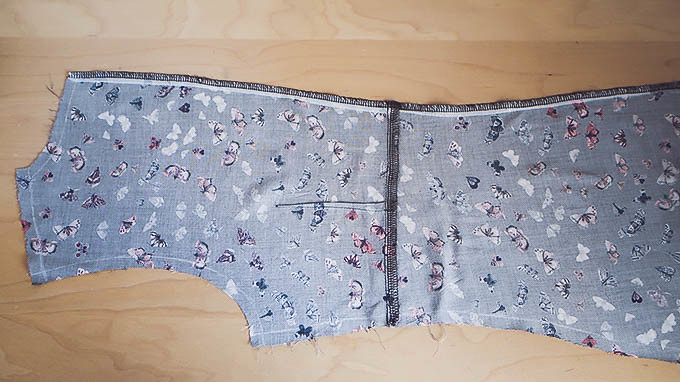
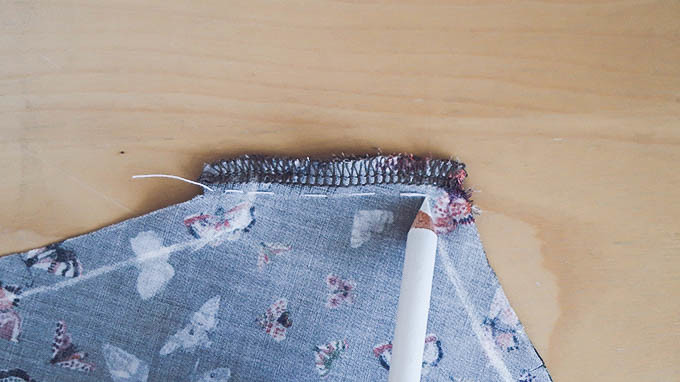
10) Sew a busting stitch of the remaining area for the zipper.
10) Сметайте на задних деталях
оставшийся участок под молнию.
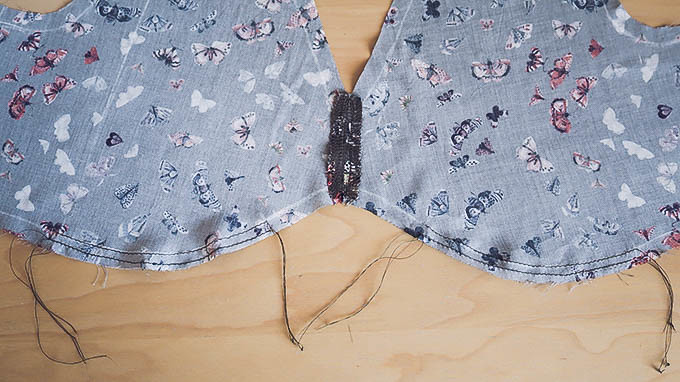
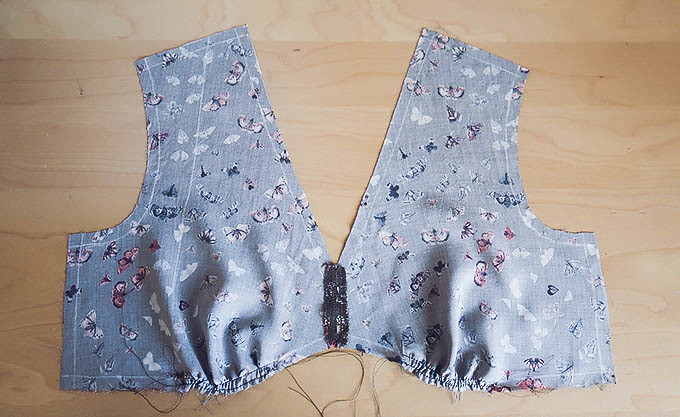
11) Place together details of the bodice and sew.
11) Детали переда сложите лицом
к лицу и сшейте вместе.
The seam should not extend to the end of the
detail 1 cm.
Шов не должен доходить до конца детали 1 см.
12) Make two parallel stitches at a distance of 0.5 cm
from each other between the mark lines along the bottom cut. The stitch length
should be 3-3.5 mm. You should get the same as shown in the video.
12) Между контрольными линиями
по нижнему срезу проложите две параллельные строчки на расстоянии 0,5 см друг
от друга. Длина стежка должна быть 3-3,5 мм. В начале и конце закрепки ставить
не нужно. У вас должно получиться так же, как показано на видео.
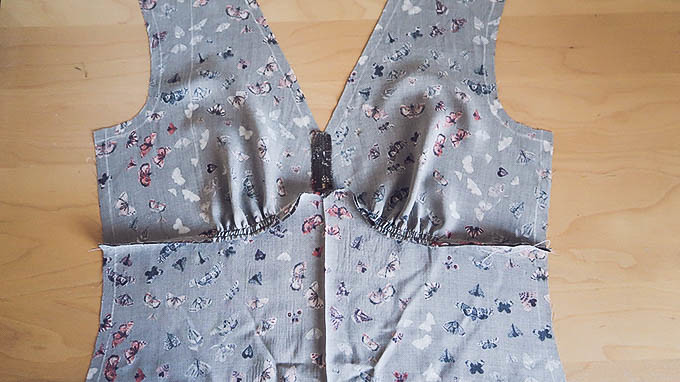
13) Pull the free ends of the lower threads, evenly
distributing the assembly. Front pieces of bodice with the assembly must correspond to the
dimensions of the upper cut of the front part of the skirt.
13) Стяните свободные концы
нижних нитей, равномерно распределяя сборку. Детали переда вместе со сборкой должны соответствовать размеру верхнего
среза передней части юбки.
14) Sew the details of the bodice and the front piece
of skirt together.
14) Сшейте вместе детали лифа и
переднюю деталь юбки.
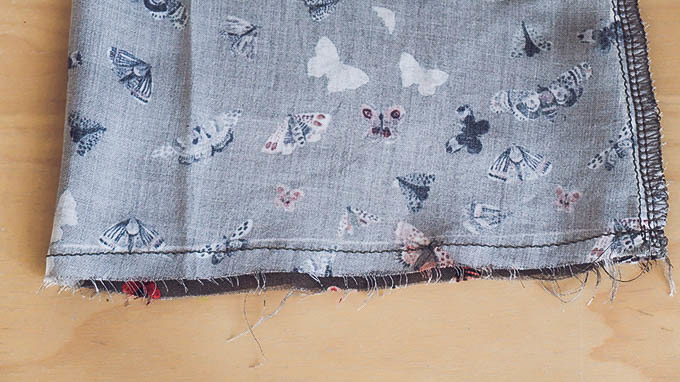
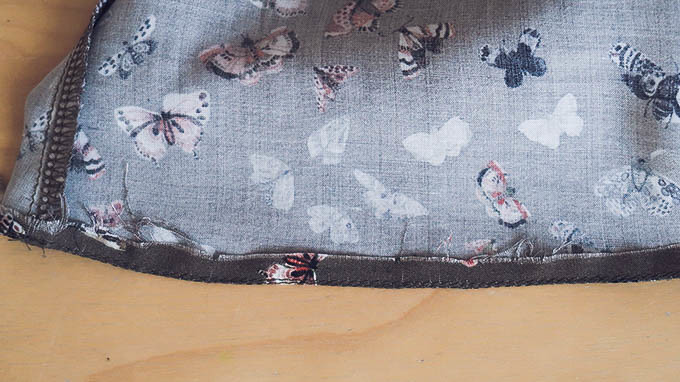
15) Serge seam allowances.
15) Срез обработайте на оверлоке.
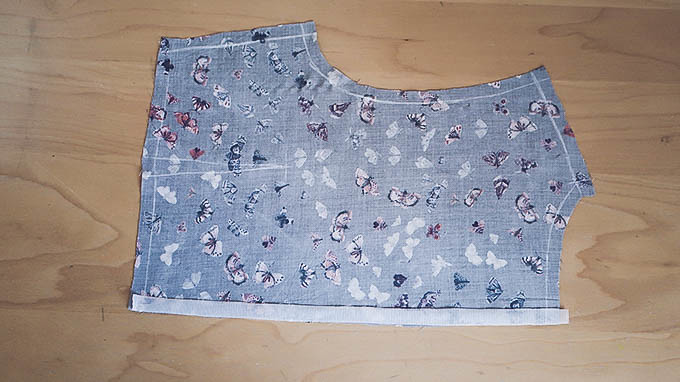
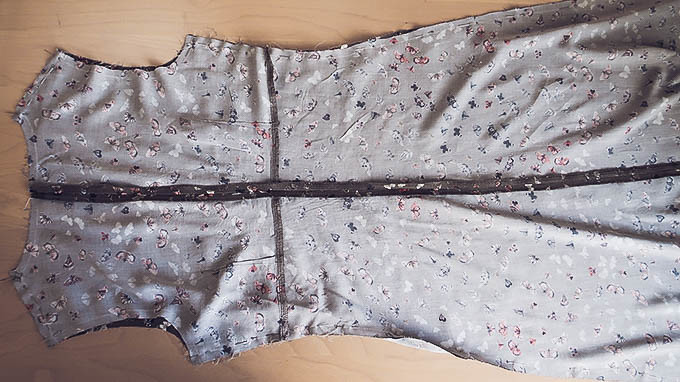
16) Fold the front and back pieces of the dress
together. Sew the shoulder and side seams.
16) Сложите вместе переднюю и заднюю
детали платья. Сшейте плечевые и боковые швы, а затем обметайте.
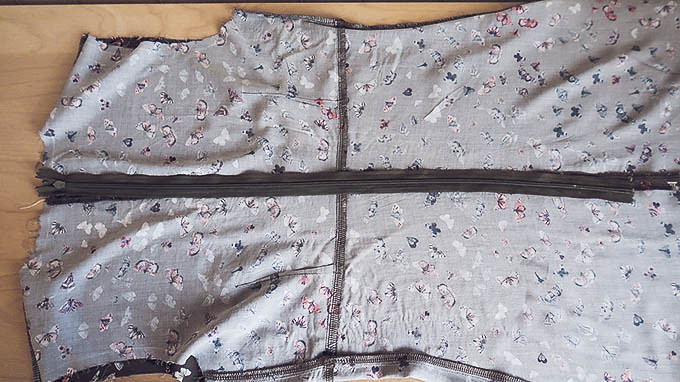
17) Attach
invisible zipper to center back seam.
17)
Вшейте
потайную молнию в средний шов спинки. Для удобства используйте специальную
лапку. Она поможет проложить строчку близко к зубчикам молнии.
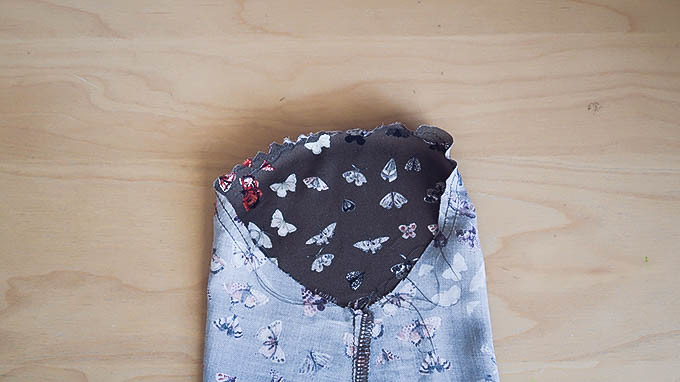
18) At the edge of the neckline at a distance of 1 cm
from the edge, lay a stabilizing stitch in two stages: from the center seam of
the back to the center of front piece of the shelf along the right and left
side of the dress.
18) По краю горловины на
расстоянии 1 см от края проложите стабилизирующую строчку в два этапа: от
среднего шва спинки до центра полочки по правой и левой стороне платья.
19) Sew
together all pieces of the neckline facing.
19) Сшейте вместе детали обтачки
переда и спинки.
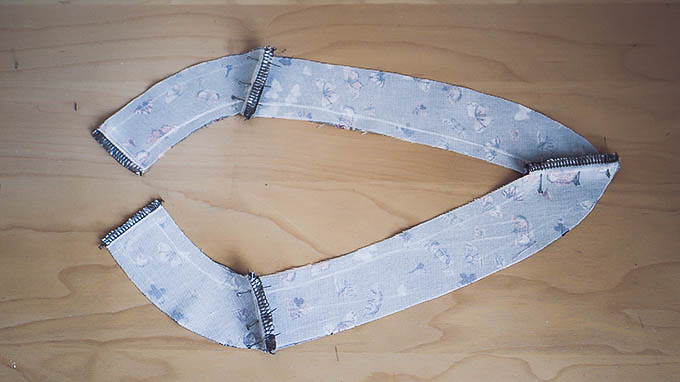
20) Finish outside edge of neckline facing.
20) Обработайте внешний срез
обтачки на оверлоке.

21) Pin and sew short sides of the neckline facing to
the allowances along the center seam of the back.
21) Приколите и пришейте
короткие стороны обтачки к припускам по среднему шву спинки.
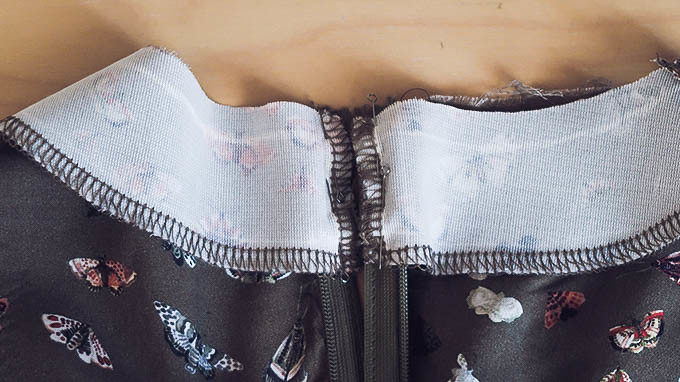
22) Fold the allowance (see this step in video). Fold the
neckline facing face to face to the dress and sew. The seam passes 1 mm
below the stabilizing stitch.
22) Перегните припуск под молнию
по зубчикам (смотрите этот шаг видео). Сложите обтачку лицом к лицу к платью и
пришейте. Шов проходит на 1 мм ниже стабилизирующей строчки.
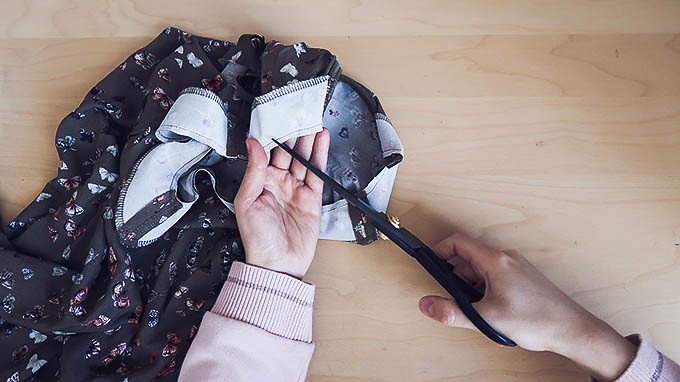
23) Trim the allowance to 0.5 cm and and clip around
the curves. In the corner along the line of the center of the bodice, make a
cut and cut out the allowances.
23) Припуски подрежьте до 0,5
см, в местах закруглений сделайте рассечки, чтобы убрать натяжение. В уголке по
линии середины лифа сделайте рассечку и
высеките припуски.
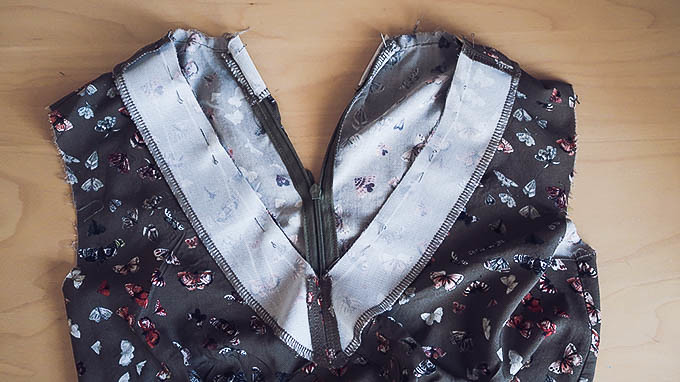
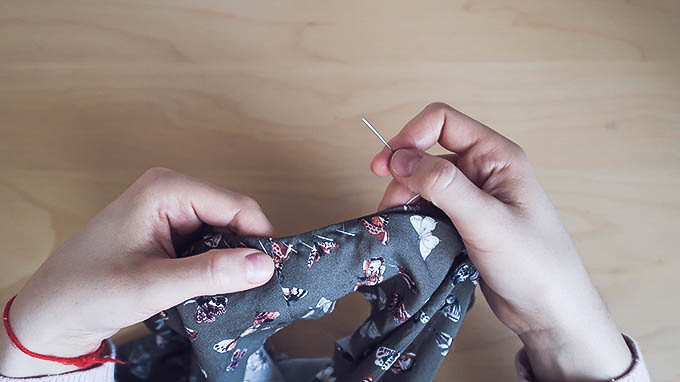
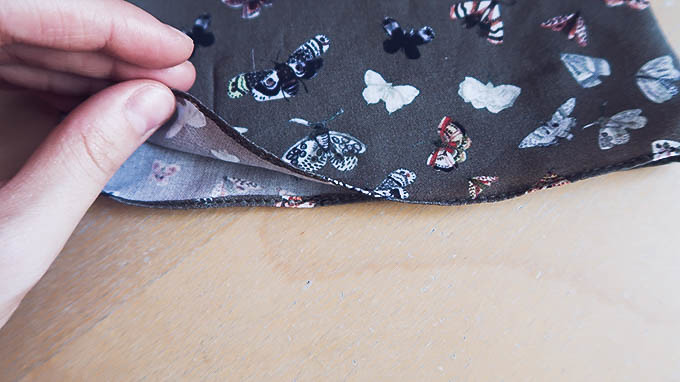
24) Fold neckline facing to wrong side and sew by hand
to all over the neckline.
24) Отверните обтачку и зафиксируйте
ее вручную косыми стежками по всей горловине.
25) Stitch away from the seam line at a distance of 0.1-0.2
mm from the edge.
25) Проложите отделочную строчку
на расстоянии 0,1-0,2 мм от края.

26) Sew a
seam on the sleeves.
26)
Рукава сложить пополам и сшейте по боковому
шву.
27) Sew two parallel stitches along the armhole
between the mark lines at a distance of 1 cm and 0.5 cm from the edge.
27) Проложите по окату рукава
между контрольными линиями две параллельные строчки на расстоянии 1 см и 0,5 см от края.
28) Slightly pull the free ends of the threads.
28) Слегка стяните за свободные
концы нитей, формируя полукруглый окат рукава.
29) Finish the bottom of the sleeves. Lay the stitch
at a distance of 0.5-0.7 cm from the bottom edge of the sleeve.
29) Нижний край рукава
обработаем московским швом. Для этого проложите строчку на расстоянии 0,5-0,7
см от нижнего края рукава.
30) Turn the bottom edge along the created stitch.
30) Подверните нижний край по
проложенной строчке.
31) Поверх припуска проложите
строчку на расстоянии 0,1 мм от края.
 32) Cut off excess fabric with scissors.
32) Срежьте излишки ткани с
помощью ножниц.
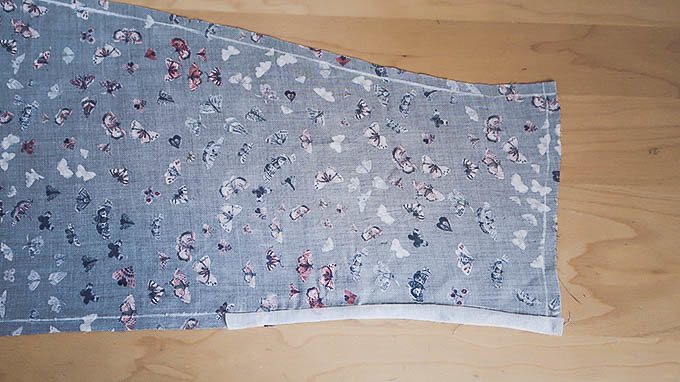
33) Then again fold the hem by width of the seam and
sew the finishing stitch over the previous one. You should get a stitch like
that. Similarly, make the bottom of the dress.
33) Затем снова подверните на
ширину шва и проложите отделочную строчку поверх предыдущей. У вас должен
получиться вот такой шов. Аналогично обработайте низ платья.
34) Pin sleeves to armholes and then sew.
34) Рукава сколите, а затем
соедините с проймами. Срезы обработайте на оверлоке.

35) Sew the neckline facing to the shoulder seams by
hand.
35) С изнанки пришейте обтачку
вручную к плечевым швам.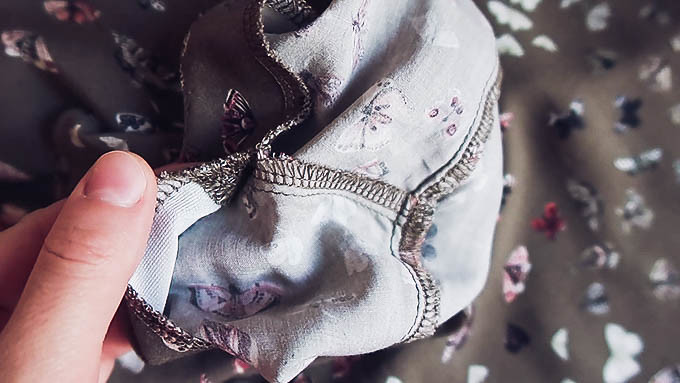
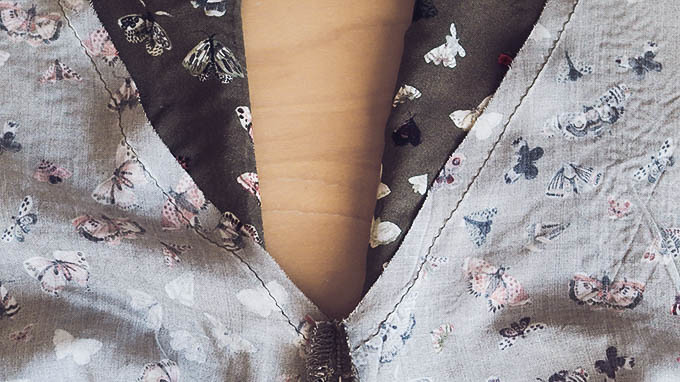
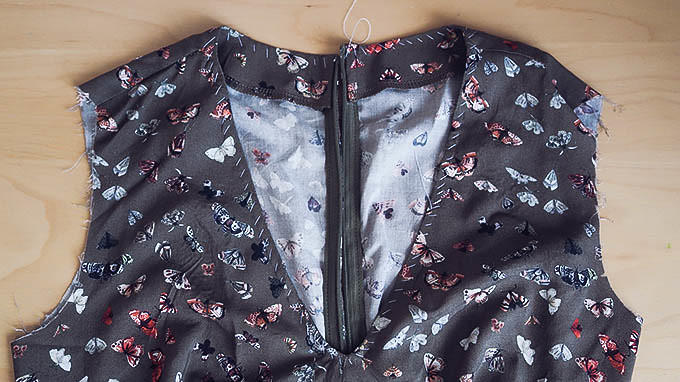
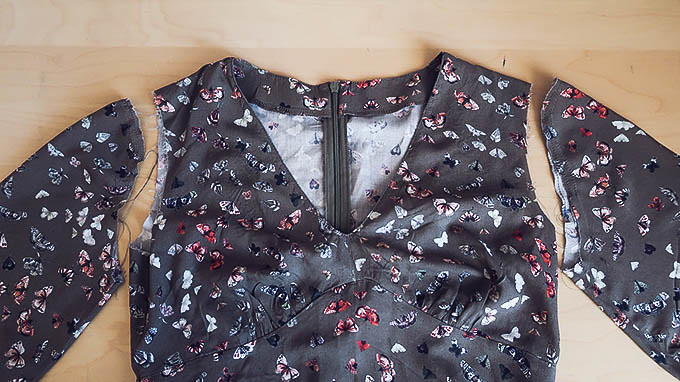
36) Tea dress is ready!
36) Чайное платье "Челси" готово!
Also, a detailed master-class on the sewing of the
dress "Chelsea" you can see in the video below and on my channel.
Также подробный
мастер-класс по пошиву платья "Челси" вы можете увидеть в видео ниже
и на моем канале.
I hope that my master class will help you when sewing
a tea dress. The model of the dress and the final result I liked so much that I
sewed two dresses on this pattern: one for myself, the other for my mum! So in
the video you can see us together, and very soon I will share with you and
photos.
Я надеюсь, что мой
мастер-класс поможет вам при пошиве чайного платья. Модель платья и итоговый
результат мне так понравились, что я сшила по этой выкройке два платья: одно – для
себя, другое – для мамы! Поэтому в видео вы можете увидеть нас вдвоем, а совсем
скоро я поделюсь с вами и фотографиями.
xoxo, Stacy
Follow my blog