

Hello! My inspiration for the new project was the collection of Chanel Spring/Summer 2011. In this show, one of the models demonstrated a suit of jacket and A-line skirt. The bottom edge and two patch pockets of this skirt were decorated with a fringe. Collections of the fashion house Chanel are based on the classics, so all Chanel models look relevant even after years. And this season the fringe is one of the trends. I liked this idea, and I decided to make a similar skirt.
Всем привет! Моим вдохновением для нового проекта стала коллекция Chanel весна/лето 2011. На этом показе одна из моделей продемонстрировала комплект из жакета и юбки А-силуэта. Нижний край и два накладных кармана этой юбки были обработаны бахромой. Коллекции модного дома Chanel основываются на классике, поэтому все модели Chanel выглядят актуальными даже спустя годы. А в этом сезоне бахрома является одним из трендов. Мне понравилась эта идея, и я решила сделать похожую юбку.

A long time I wanted to sew a skirt made of thick fabric for the cold season. After my latest sewing project with sleeveless coat for my mom, I just had a piece of fabric that couldn’t be enough for anything other than a skirt. The "houndstooth" print of the fabric repeated the coloring of the fabric from the Chanel show, and the fringe that went along the edge of the fabric was perfect for decorating the bottom of the skirt and pockets. Below I have described in detail not only the tailoring of the skirt itself but also how to make a-line pattern, in case, if you decide to create the pattern according to your measurements.
Я давно хотела себе сшить юбку из плотной ткани на холодное время года, а после пошива удлиненного жилета для мамы у меня как раз остался отрез ткани, которого ни на что другое, кроме как на юбку, не могло хватить. Принт ткани в "гусиную лапку" повторял расцветку ткани с показа Chanel, а бахрома, которая шла по кромке ткани, прекрасно подходила для декорирования низа юбки и карманов. Ниже я подробно описала не только сам пошив юбки, но и построение выкройки, на случай, если вы решите строить выкройку по своим меркам.
Для того, чтобы получить выкройку юбки А-силуэта используйте выкройку прямой юбки. Вы можете взять уже готовую основу или построить выкройку по своим меркам, используя мой мастер-класс. Кстати, он есть и в формате видео.

How to make A-line skirt pattern
1) Shorten the main pattern to the required length. The length of my skirt is 50 cm without waistband.
2) Draw a straight line from the center of the dart to the hem of the skirt.
3) Cut the pattern along these lines.
4) Close ½ dart and glue the pattern in front and back places.
5) At the bottom of the skirt from the sideline set aside 3 cm.
6) Connect the resulting point with the line of the hips.
7) Repeat all steps at the back piece of the skirt.
8) The pattern of A-line skirt is ready.
9) Also you will need a pocket pattern.
Cut a square of 12x12 cm in size from paper and round off the bottom edges at both sides.
Построение выкройки юбки А-силуэта
1) Укоротите базовую выкройку до необходимой длины. Длина моей юбки 50 см без пояса.
2) Проведите прямую линию от центра вытачки до низа юбки.
3) Разрежьте бумажную выкройку по этим линиям.
4) Закройте ½ вытачки и склейте выкройку на обоих частях.
5) По низу юбки со стороны боковой линии отложите 3 см.
6) Соедините полученную точку с линией бедер.
7) Повторите все действия с задней частью юбки.
8) Выкройка юбки А-силуэта готова.
9) Также вам понадобится выкройка кармана.
Для его построения вырежьте из бумаги квадрат размером 12х12 см и закруглите нижние края.
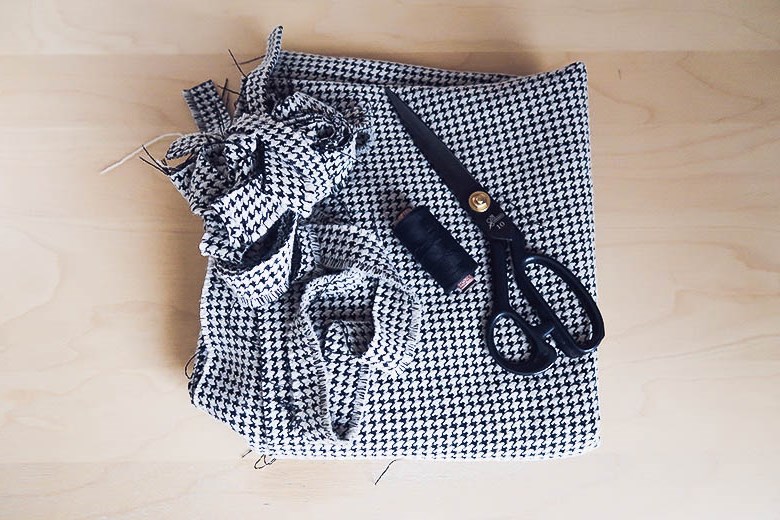
You will need:
- Fabric 70 cm (I used tweed),
- Lining 60 cm,
- Invisible zipper,
- Fringe (I used the side hem from the wool fabric) 2 m,
- 1 Button,
- Threads.
Вам понадобится:
- Ткань 70 см (я использовала твид),
- Подкладочная ткань 60 см,
- Потайная молния,
- Бахрома (я использовала кромку от основной ткани) 2 м,
- 1 Пуговица,
- Нитки.
1) Сut out pieces from fabric and lining.
1) Вырежьте все детали из основной ткани и подкладки.
2) Pin the tucks on the front and back pieces.
2) Сколите вытачки от основания к вершине на передней и задних частях юбки.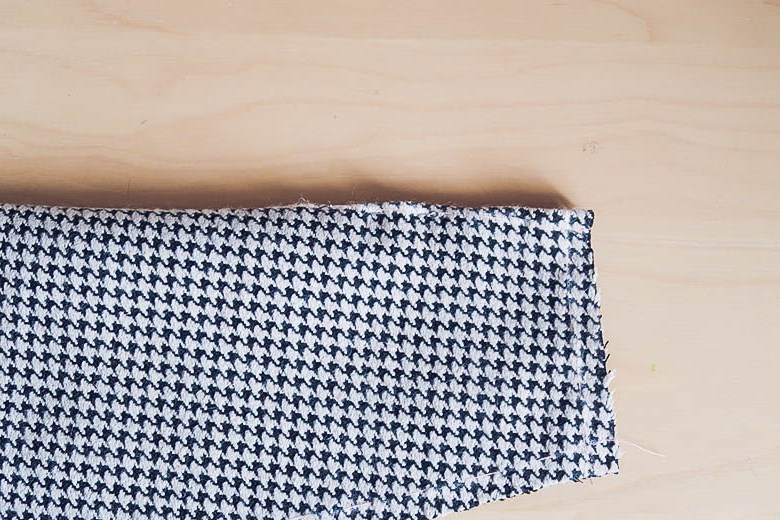
3) Then sew them on the sewing machine.
3) Затем прошейте на швейной машине.
4) Ready the darts in the direction of the center.
4) Проутюжьте вытачку плоско, а потом заутюжьте по направлению к центру юбки.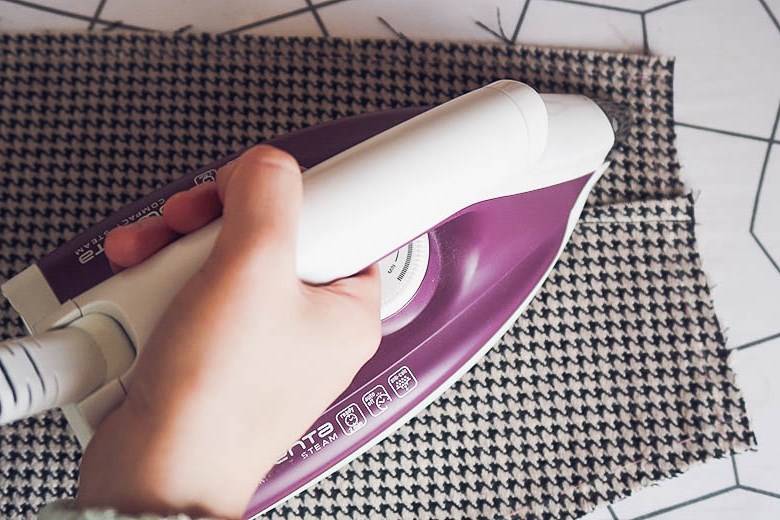
5) Press interfacing to the seam allowance where you plan to insert a zipper. The strip should be 1 cm wide and 1–2 cm longer than the place for attaching the zipper.
5) Приклейте полосу дублерина шириной 1 см к месту притачивания молнии на задних частях юбки. Полоса должна быть на 1-2 см ниже участка втачивания молнии.
6) Serge side seam allowances and center seams of back peaces.
6) Обработайте боковые срезы на передней и задних деталях юбки.
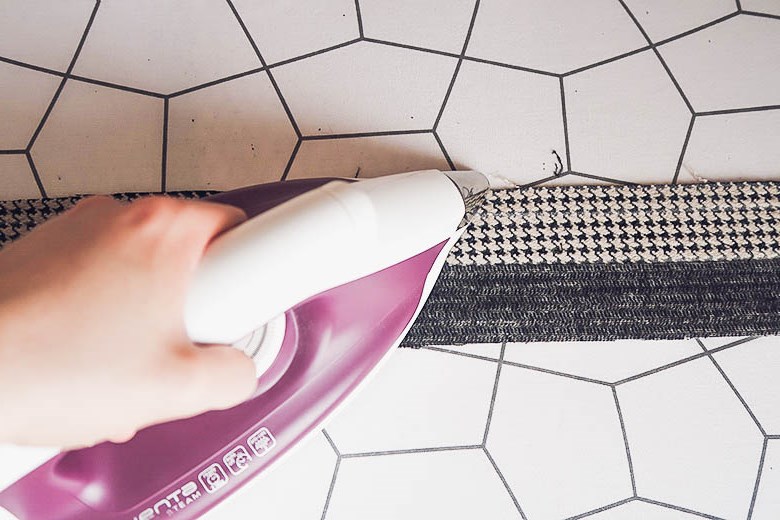
7) Pin the tape to the front side along the contour of the pocket so that the fringe is towards the center of the pocket. Sew the tape to the pocket on the sewing machine. Then iron the seam.
7) Приколите тесьму к лицевой стороне по контуру кармана таким образом, чтобы бахрома находилась по направлению к центру кармана. Пришейте тесьму к карману на швейной машине. Затем проутюжьте шов.
8) Pin, sew by hand and then sew on the sewing machine the lining of the pocket to the edge of the entrance to the pocket.
8) Приколите, приметайте, а затем пришейте подкладку кармана к срезу входа в карман. 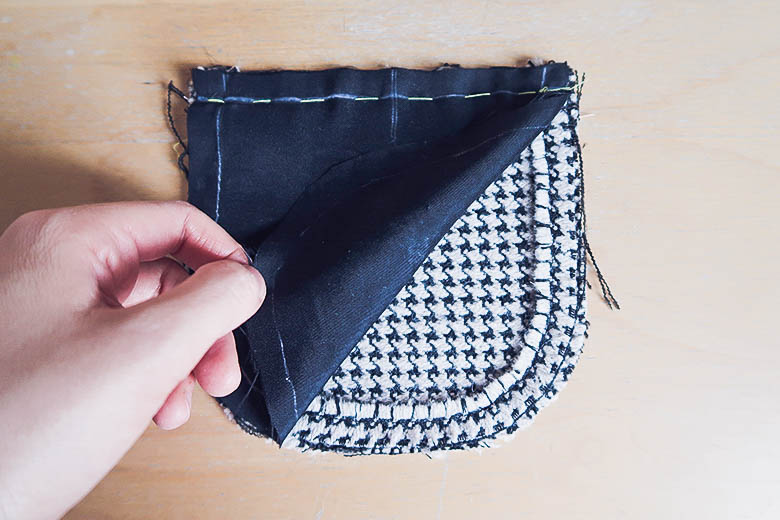
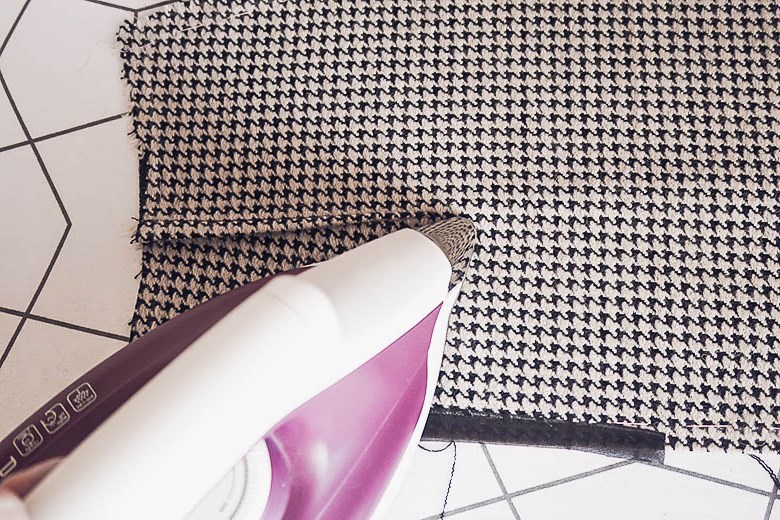
9) Press to allowance. Allowance should be directed towards the lining. Then fix by stitching 1-2 mm from the edge of the lining.
9) Проутюжьте шов. Припуски должны быть направлены в сторону подкладки. На расстоянии 1-2 мм от края со стороны подкладки проложите строчку.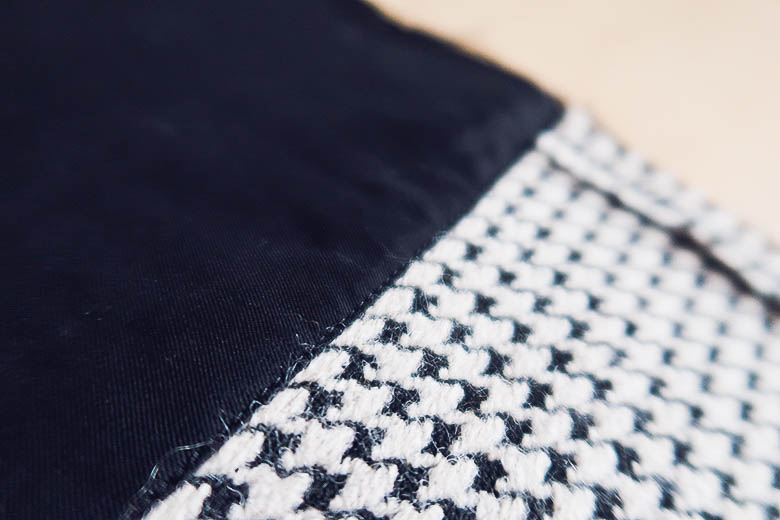
10) Place together the pocket details together and press.
10) Сложите детали кармана вместе и проутюжьте.
11) Sew by hands the lining and the main part of the pocket together manually. Serge seam allowances.
11) Сметайте подкладку и основную деталь кармана вместе и обработайте срезы кармана на оверлоке.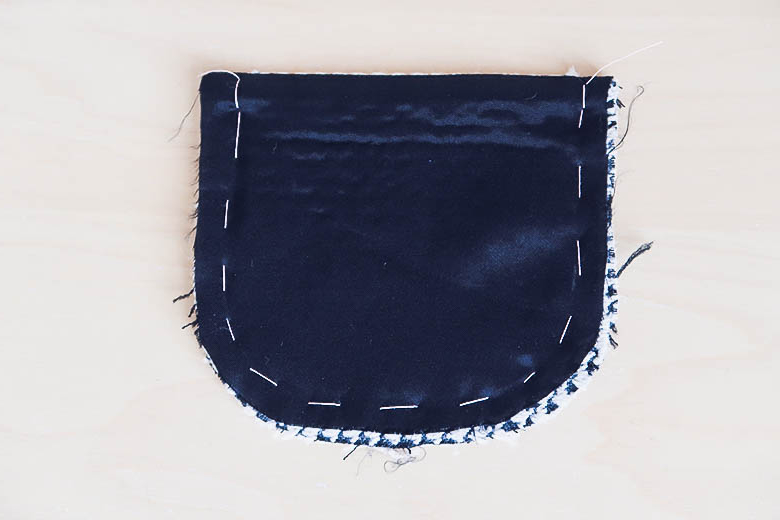
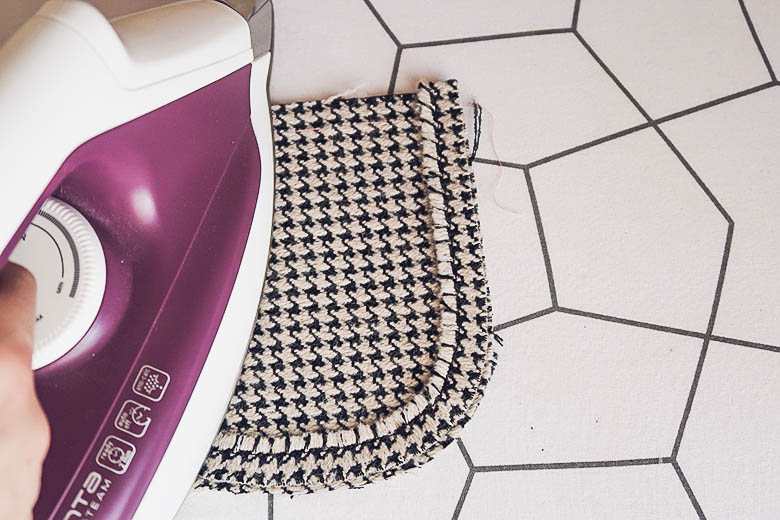
12) Then fold the seam allowance on the wrong side and press. You should have a fringe on the edge (watch this moment in the video).
12) Затем отогните припуск кармана на изнаночную сторону и проутюжьте. По краю у вас должна остаться бахрома (смотрите этот момент в видео).
13) Pin pockets to the front of the skirt to the right places and stitch them by hand.
13) Приколите карманы к передней части юбки к намеченным местам и приметайте их ручным швом. 
14) Sew the skirt pockets on the sewing machine. The stitch should pass from the front side at a distance of 1-2 mm from the edge of the pocket.
14) Пришейте карманы к юбке на швейной машине. Строчка должна проходить с лицевой стороны на расстоянии 1-2 мм от края кармана.
15) Make fixing seams 5 mm. You can make them with a "zigzag" stitch width of 2 mm. The pocket is finished.
15) У входа в карман поставьте закрепки 5 мм. Сделать их можно строчкой "зигзаг" шириной 2 мм. Вот так выглядит карман в готовом виде.
16) Fold the back pieces of the skirt together. Pin and sew the pieces along the central seam, leaving a section for the invisible zipper.
16) Сложите вместе задние детали юбки. Сколите и сшейте детали, отступив расстояние для втачивания молнии.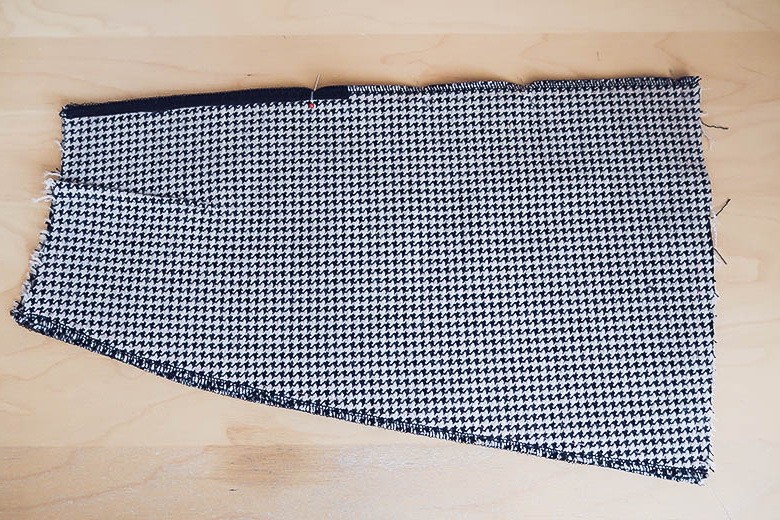
17) Attach invisible zipper to center back seam.
17) В оставшийся разрез вшейте потайную молнию.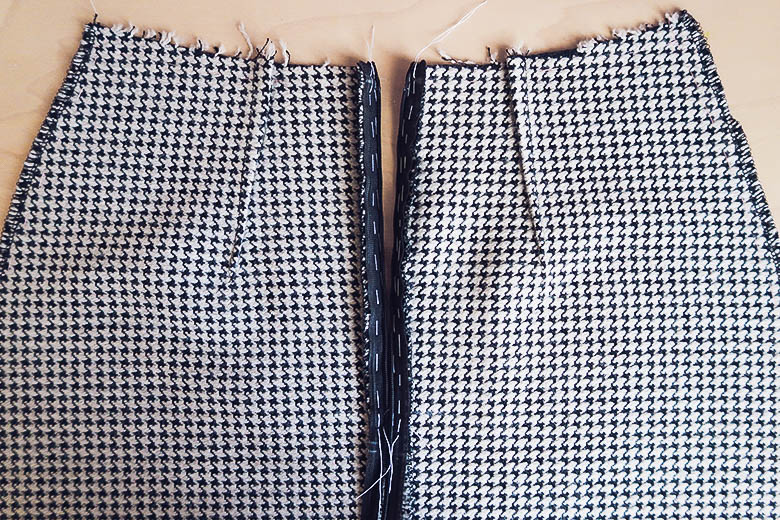
18) Place the front and back pieces together and sew the side seams. Press the seams.
18) Соедините переднюю и заднюю части юбки по боковым швам. Шов разутюжьте.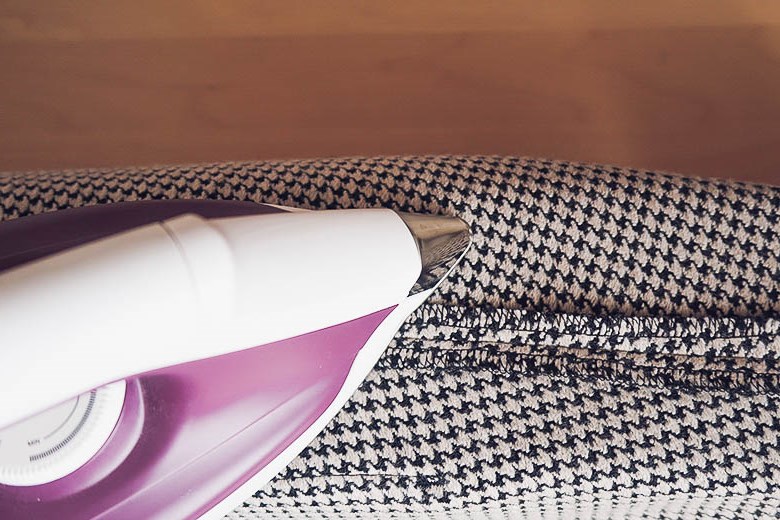
19) Sew all the details of the skirt from the lining fabric. Fold the hem along the marked line and sew.
19) Сшейте вместе все детали юбки из подкладочной ткани. Для обработки нижнего края подверните его по намеченной линии и прошейте.

20) Sew the lining to the seam allowances of the skirt on both sides.
20) Приколите и пришейте подкладку к припускам шва юбки с обеих сторон, прихватывая тесьму молнии. 
21) Sew the lining to the skirt along the waistline using running stitch.
21) Приметайте подкладку к юбке по линии талии.
22) Cut the waistband. Apply and iron interfacing onto the waistband, leaving a half with no interfacing.
Waistband length = Waist measurement+3 cm overlap+2 cm allowance
22) Вырежьте пояс. Проклейте ½ пояса дублерином.
Длина пояса = Обхват талии+3 см застежка+2 см припуск на швы
23) Pin the waistband to the top of the skirt, leaving 3 cm free for the overlap on the left side. Then sew the waistband to the skirt on the sewing machine.
23) Приколите пояс к верхнему срезу юбки оставляя с левой стороны 3 см на застежку. Затем пришейте пояс к юбке на швейной машине.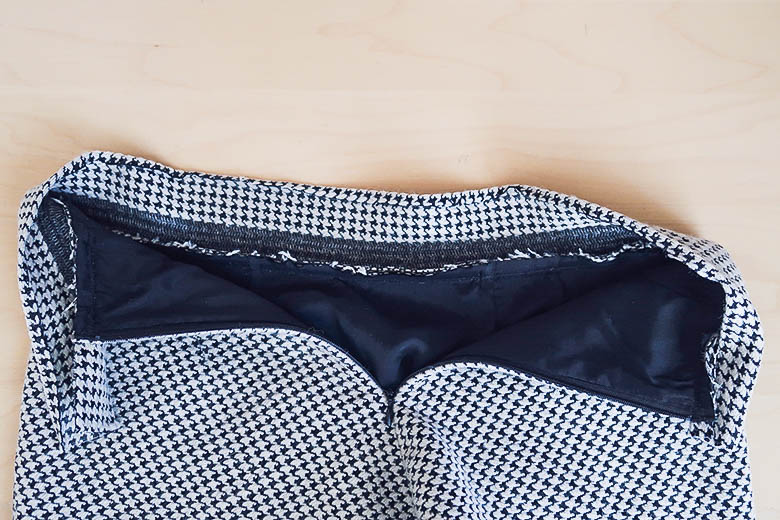
24) Press the allowances on top to the waistband.
24) Заутюжьте припуски вверх, в сторону пояса.
25) Fold the allowance of the other side of waistband and iron.
25) Свободный припуск пояса подогните и заутюжьте.
26) Fold the waistband in half and sew the side seams.
26) Пояс согните пополам и прошейте боковые стороны пояса, совмещая срезы.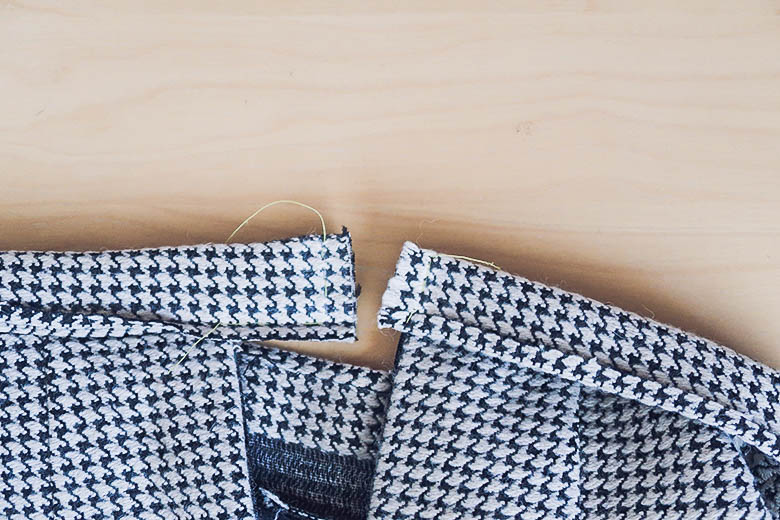
27) Trim the seam allowance about to 0,5 mm and cut out the corners to 1 mm from the seam.
27) Срежьте припуски до 0,5 мм и высеките углы наискосок не доходя 1 мм до шва.
28) Then turn out the waistband to the right side. Stitch in the ditch that to fix the edge.
28) Затем выверните пояс на лицевую сторону. Для закрепления подогнутого края проложите строчку "в канавку" с лицевой стороны юбки.
29) Measure the hem of the front and back details of the skirt. Then cut the fringe of the desired length, adding 1 cm for seam allowances on each side.
29) Сантиметровой лентой измерьте нижние края передней и задней деталей юбки.
Затем отрежьте бахрому нужной длины, добавив по 1 см на припуски на швы с каждой стороны.
30) Sew together the details of the fringe on both sides. You should have a ring.
30) Сшейте вместе детали бахромы с обеих сторон. У вас должна получиться замкнутая окружность.
31) Pin the fringe to the hem of the skirt. A fringe should be directed upwards. Then sew a fringe and serge allowance.
31) Приколите тесьму с лицевой стороны к нижнему краю юбки. Бахрома должка быть направлена вверх. Затем пришейте бахрому и обработайте срез на оверлоке.
32) Fold the hem and sew. The stitch should pass from the front side at a distance of 1-2 mm from the fringe.
32) Подверните нижний край и пришейте с лицевой стороны на швейной машине на расстоянии 1-2 мм от края.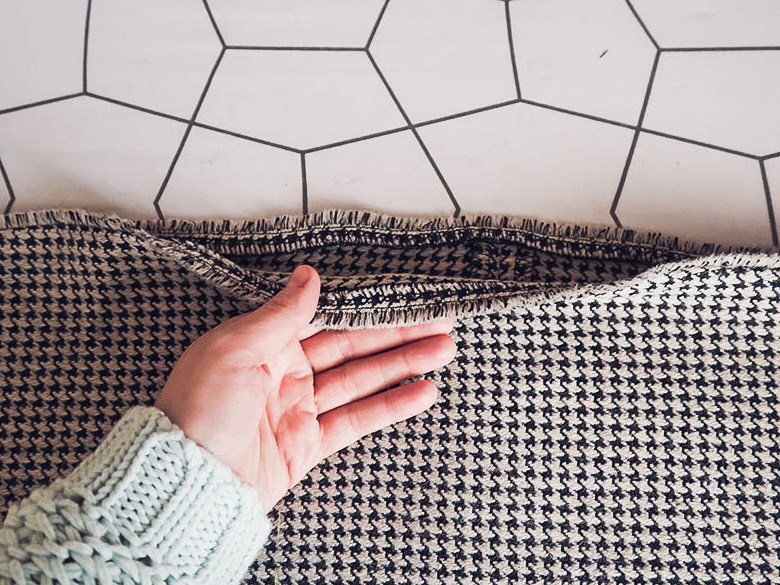
33) Make a buttonhole and sew a button to finish.
33) Сделайте петлю и пришейте пуговицу.
34) Skirt with a patch pockets is ready!
34) Юбка с карманами готова!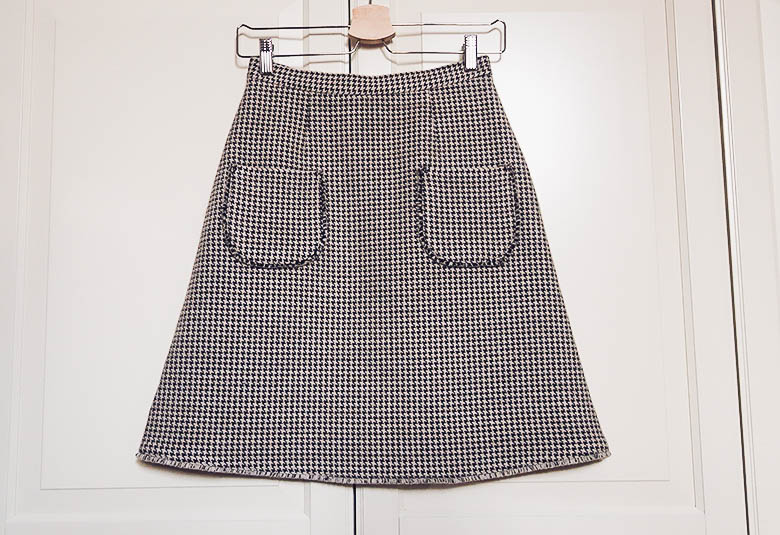
In addition to this tutorial, you can also watch a video with a detailed construction and tailoring of the skirt. Also in it you can look at the already finished project.
Помимо этого мастер-класса, вы также можете посмотреть видео с подробным построением и пошивом юбки. Также в нем можно увидеть на уже готовый проект.
I hope that this tutorial was useful to you. By the way, such a skirt model can be sewn from any fabric, leather, suede, with or without pockets. Thus, you will have several different skirts at once. I wish everyone good luck in sewing!
Я надеюсь, что этот мастер-класс был вам полезен. Кстати, такую модель юбки можно сшить из любой ткани, кожи, замши, как с карманами, так и без них. Таким образом, у вас будет сразу несколько разных юбок. Желаю всем удачи в пошиве!
xoxo, Stacy